A long, long time ago, in an era so far away, an Amiga was all that I had…
My early computing days were Commodore centric. I had a VIC-20 for my first computer while in high school. Then in my first years in the military, I bought a Commodore 64. A few years later, I got a Commodore 128. Finally, in 1989, I got my very first Amiga computer, an Amiga 500! And now, thanks to John and Aaron at the Amigos Podcast, who had interviewed me about my days while playing around with Amiga 3D graphics, a collection of personal memories about this great machine had resurfaced in my mind. I wanted to put those memories down while they were still fresh.
I was simply AMAZED at the capabilities of the Amiga. Having gone from an 8-bit Commodore 128 system that I used to mostly play games with, I ended up with a 16-bit system with a 4096 color palette (huge at the time) which was even better at playing games. Little did I know at first the powerful software available for the Amiga at the time would open up a new genre of computing for me. Other than games I used to play on my 128, I had also used Koala Paint to create some basic bitmapped pictures in simple resolutions.
My Amiga came with a paint program from Accolade called, The Graphics Studio. The first time I saw this demo picture loading up on it,

I knew only better things were in store for me and my Amiga. I nearly stopped using my 128 at all from that point forward.
Not long after, I acquired the quintessential Amiga paint program called DPaint II from Electronic Arts. It blew away The Graphics Studio. I was hooked. I was able to doodle with a larger variety of tools and features. I had bought a video digitizer called DigiView from NewTek to capture images from camcorders and videotapes. I was able to use those images and add my own touches to them in DPaint and its later revisions, DPaint III and DPaint IV. Then… I discovered 3D graphic design.
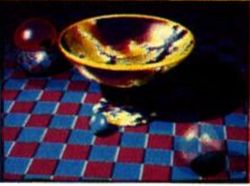
A company called Impulse released a software product for the Amiga called, Turbo Silver. I came across it by chance late in 1989. Turbo Silver bewildered me at first. I saw an example of its output, which was an image depicting a lifelike rendering of a chrome ball on an infinite checkerboard floor, including realistic shadowing and reflections. I was amazed at what I saw, especially after I realized it was created on the same kind of Amiga I have.
3D graphics on computers are taken for granted these days. Today’s software is thousands of time more powerful than what was available in the late 1980s. My discovery of the technology running on a personal computing platform was during a period of time between the Tron movie and the first Pixar movie. Desktop 3D had been in this incubation period where it could grow and start to mature before others would even be aware of what’s happening. I jumped in with both feet!
In a nutshell, Turbo Silver (and nearly all 3D programs in general) allow the user to open up a virtual universe with an X,Y,Z axes in which primitive shapes can be placed. These shapes can then be molded and shaped (virtually) as if they were some form of special clay. You would create a scene with these models, give each of them physical properties like color, texture, and shininess. Add a virtual light or two (to light up the scene) and tell the computer to “render” it.
Rendering is the process where the computer then draws an entire bitmapped image based on the layout you staged using a process called ray tracing. In its simplest explanation, ray tracing is the mathematically intensive act of visualizing how light would look as it hits each pixel in the image. It would trace the path of light between the given pixel and the light source. In between, should a shape you placed be in the light’s path, it modifies the property and color of the pixel to represent the real life portion of the scene at that point of the image. It is VERY math intensive, and for even a tiny 320×200 pixel image, it could take a half hour or more to render completely. Add more lights, reflection, and refraction properties, the rendering time could be even longer.
As I continued with learning and using 3D programs, I discovered even more 3D software titles. Impulse updated Turbo Silver and created Imagine, which added a slew of features, including tools to animate the virtual objects in your scenes and provide a level of interactivity between them.
Turbo Silver wasn’t actually the first 3D program for the Amiga. It was the first one I discovered personally, but not the first. A program called Silver was first, along with a program by Byte-by-Byte software called Sculpt-3D. Sculpt 3D allowed for designing 3D environments similar to Turbo Silver. It, too, did not have animation capabilities. Sculpt Animate 4D came out later to do so in that same line of software.
Ultimately, I had settled on a ray tracing program called Real 3D by a company called RealSoft. Real 3D added very complex modeling tools which dwarfed those found in Imagine and Sculpt. It also supported a physics engine. In the other programs, you had to control the paths of objects in your scenes manually, accounting for real-life interaction as best as you could, kind of like stop-motion animation. Real 3D let you give objects the property of mass, rigidity, and velocity. If you put a floor in your scene and made it rigid, then put a ball in the scene somewhere over the floor and gave it an elastic property. All you needed to do was turn on gravity in the scene, configure it to render a hundred or so frames of animation, and it will move the objects one frame at a time under the properties of physics. It would render a realistic looking animation of a ball bouncing… all this from a personal computer in 1993!
Once I got more proficient with programs like Imagine and Real 3D, I found myself working with others in the local Amiga community and sharing ideas. Myself and one other were able to make a few bucks exploiting our knowledge and providing 3D rendered animations for local cable services and independent producers. We didn’t make a fortune, but it did give us something to do while learning more and more of what can be done with the software tools available to us. Currently, I have many of those old 3D project files stored on aging floppy disks. I’m in the process of recovering the data so I can re-render them again. I’m anxious to see (and remember) what I did on my Amiga so long ago.
One of the projects was a series of animation bumpers for a show called Kid TV (KTV). It was a locally produced show and they needed some short animations to introduce each segment of the show.
Keep in mind that these were created nearly 24 years ago. They are BY NO MEANS anywhere near the quality of 3D rendered images you can get from your own personal computer these days. I think that’s what I like most about that fact. I was having fun in those days exercising my creativity… learning to stretch the boundaries of my imagination with a purpose. One other fact to consider, the most reasonable image pixel resolution I could generate at the time was 768×482, which in today’s parlance equates to an image size of 370 KILOpixels, about 1/3 of 1 megapixel. Very tiny indeed, and somewhat blocky, but perfect for NTSC television broadcasts of the day.
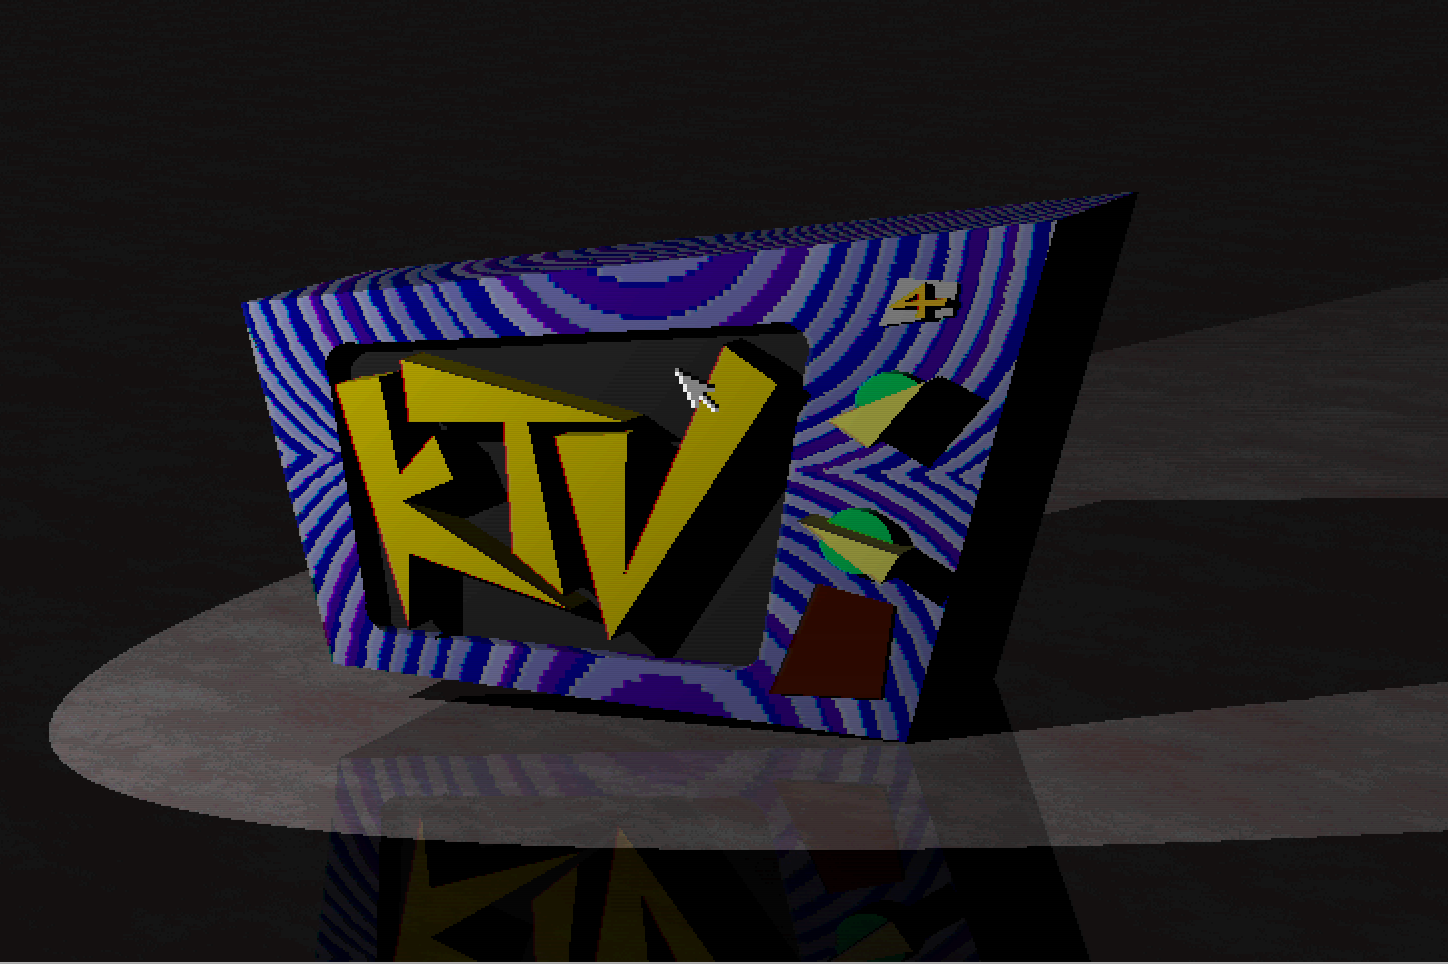
Here is a still image from one of the rendered animations. I actually re-rendered this copy in an Amiga emulator while typing this post. I had at one time backed up some of my older 3D projects onto modern storage devices to be able to run my regular Amiga platform in emulation. This image wasn’t the final output that was intended to be delivered. I generally rendered the scene with a blank background so they could superimpose it over existing video. However, when showing a concept of an image, I place it on a virtual stage under a spotlight to give it some depth.
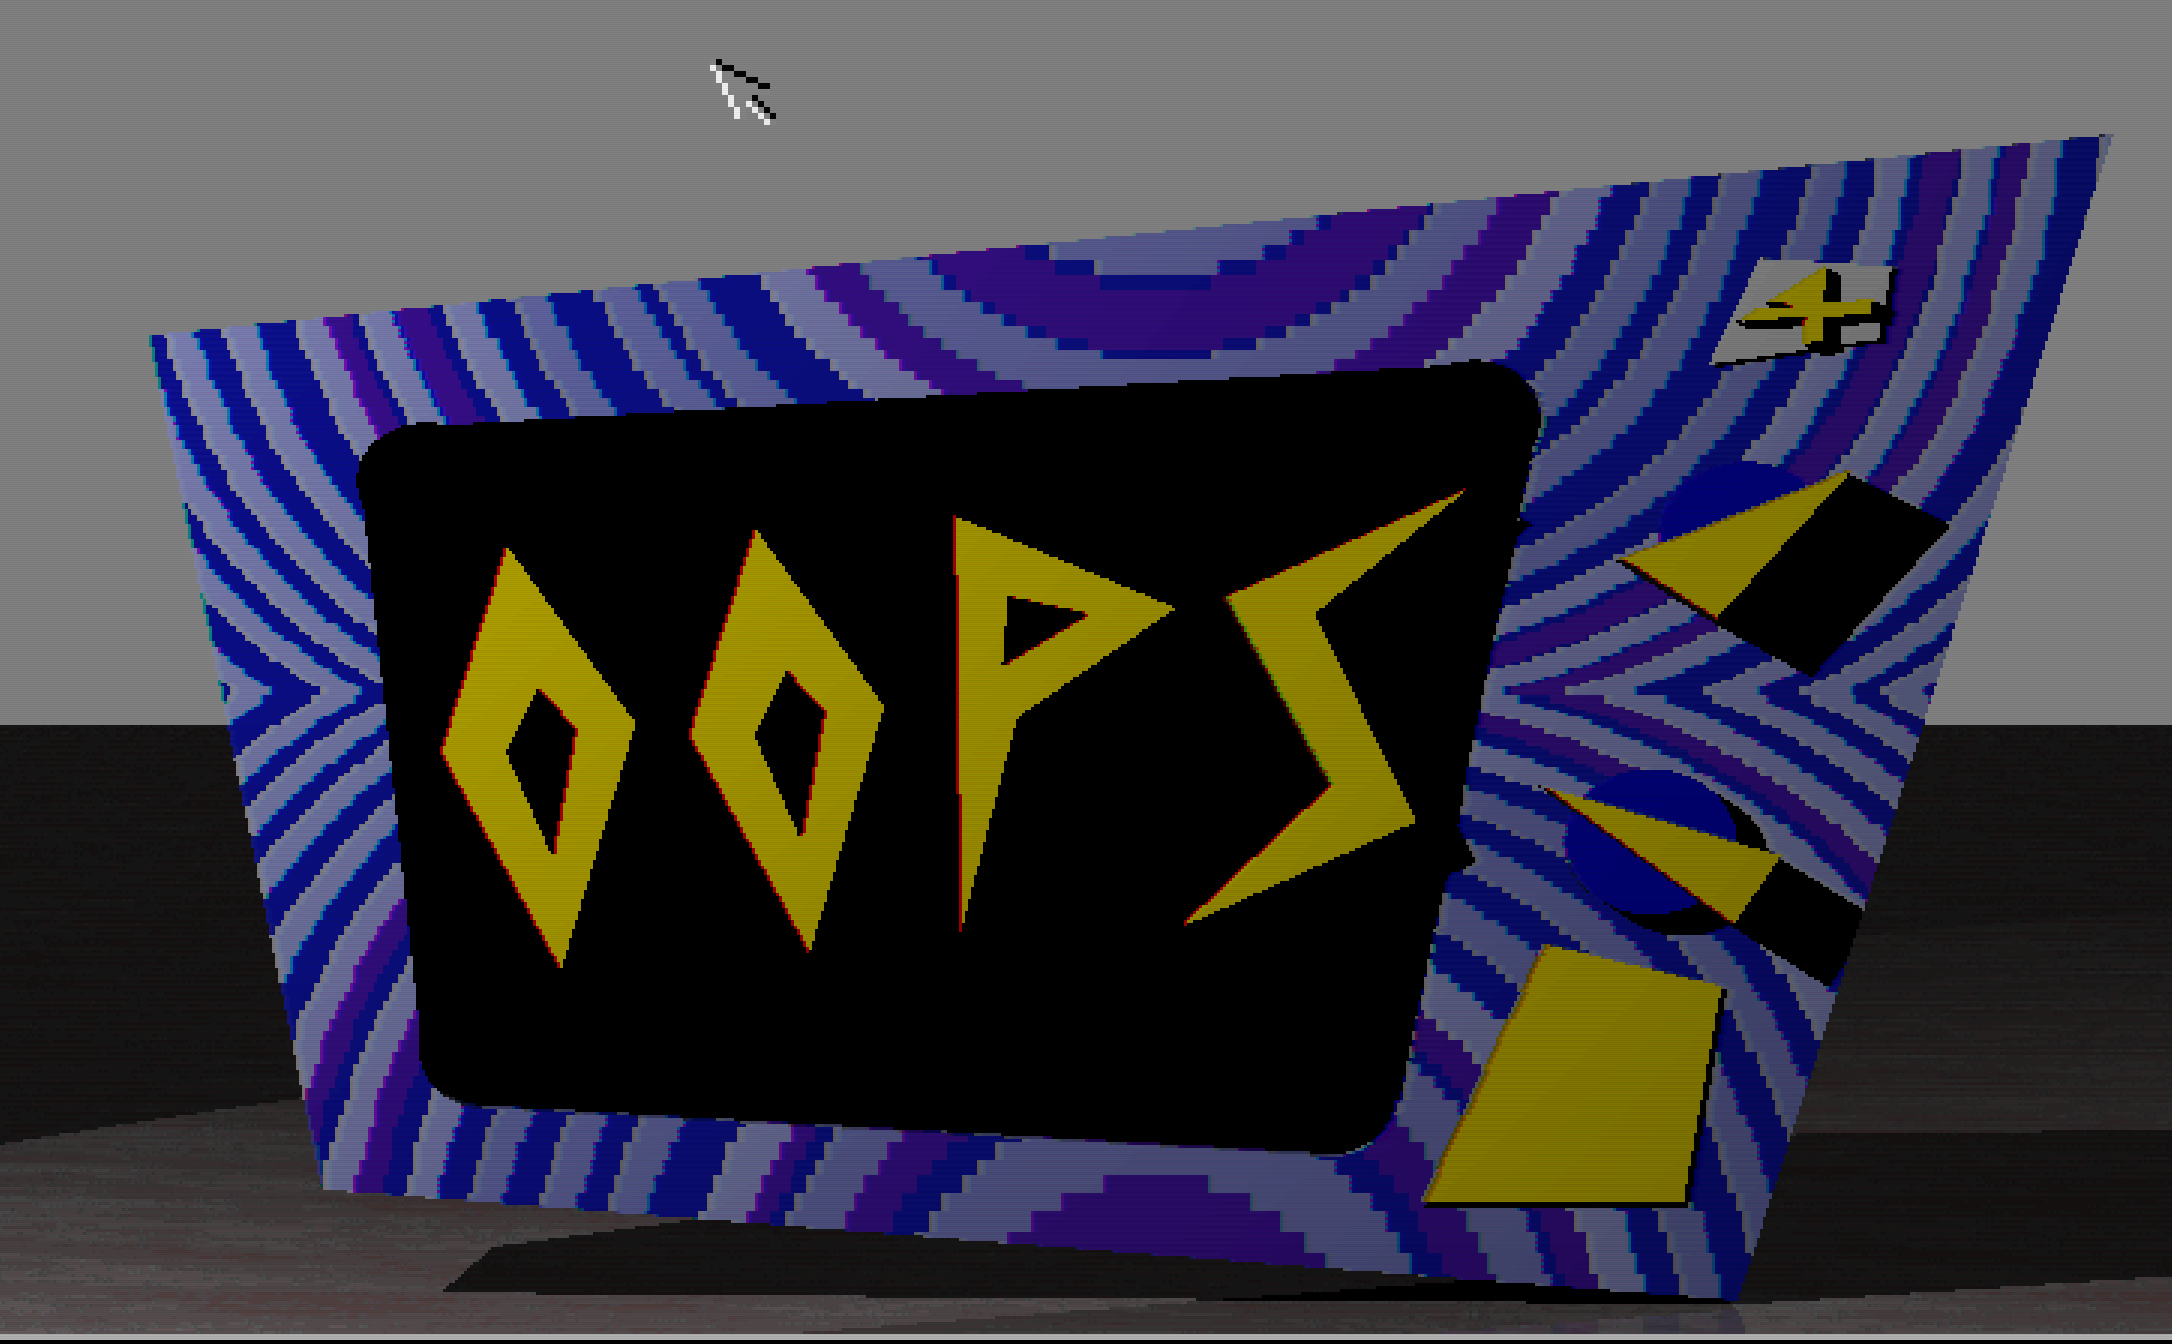
Included in the series of KTV projects I was working on were short animations to introduce show segments about life, careers, family, and even any bloopers that need a quick cover-up. The title sequence of the show was to start out as a model of that TV design with a black screen, followed by an animation of TV static on its screen, then a zoom-in on the screen as a wipe action to lead directly into the show intro. I never got around to finishing that particular animation because the show was cancelled before I completed it. I may consider completing it someday.
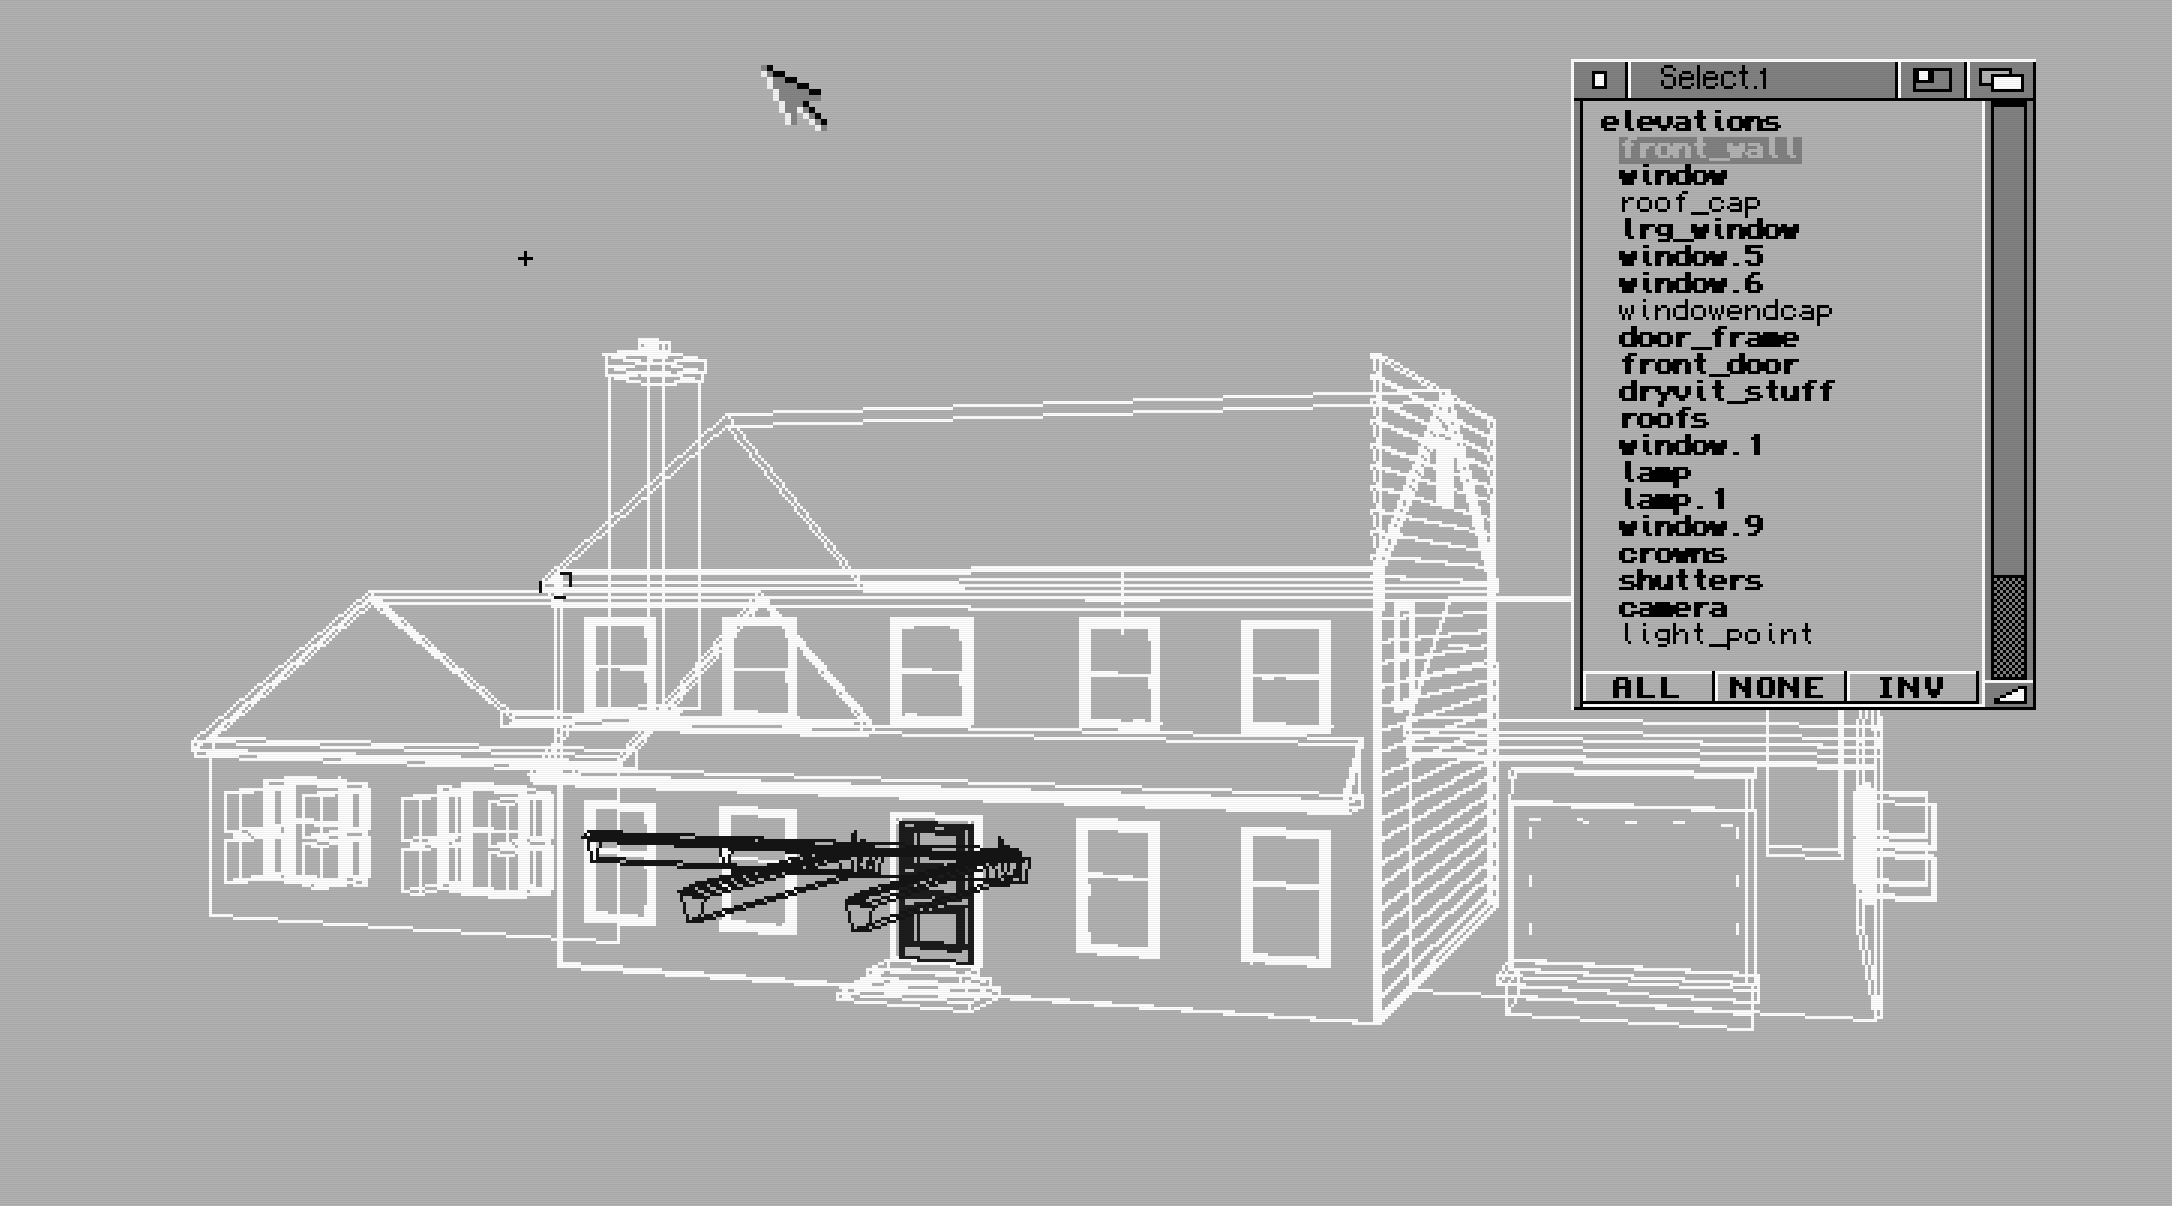
I also used my Amiga to created 3D previews of building architecture. I partnered with a friend from my local Amiga User’s Group who was also interested in 3D design. He worked in the building industry and was able to line up some work in helping a contractor’s client visualize what their custom house will look like before ground is even broken on the lot. Today, there are all sorts of programs that can do this nearly instantly, but a quarter century ago, it was impossible to do at low cost… unless you find a couple of ‘cheap to hire’ amateur 3D designers with low-cost home computers and are gluttons for punishment at the work involved in the process.
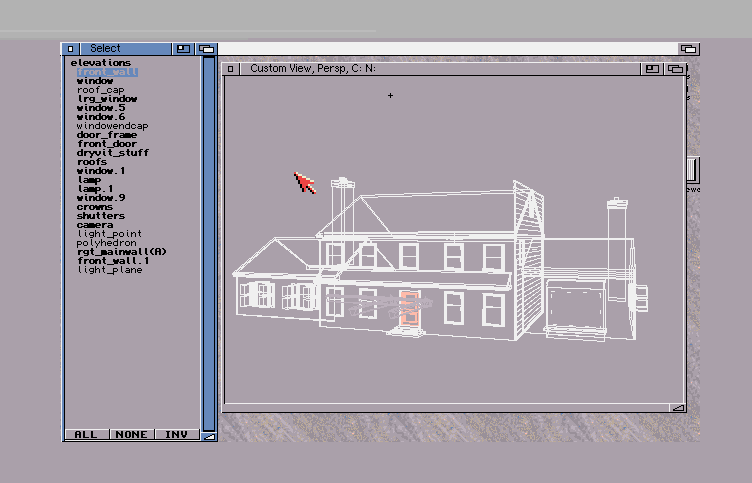
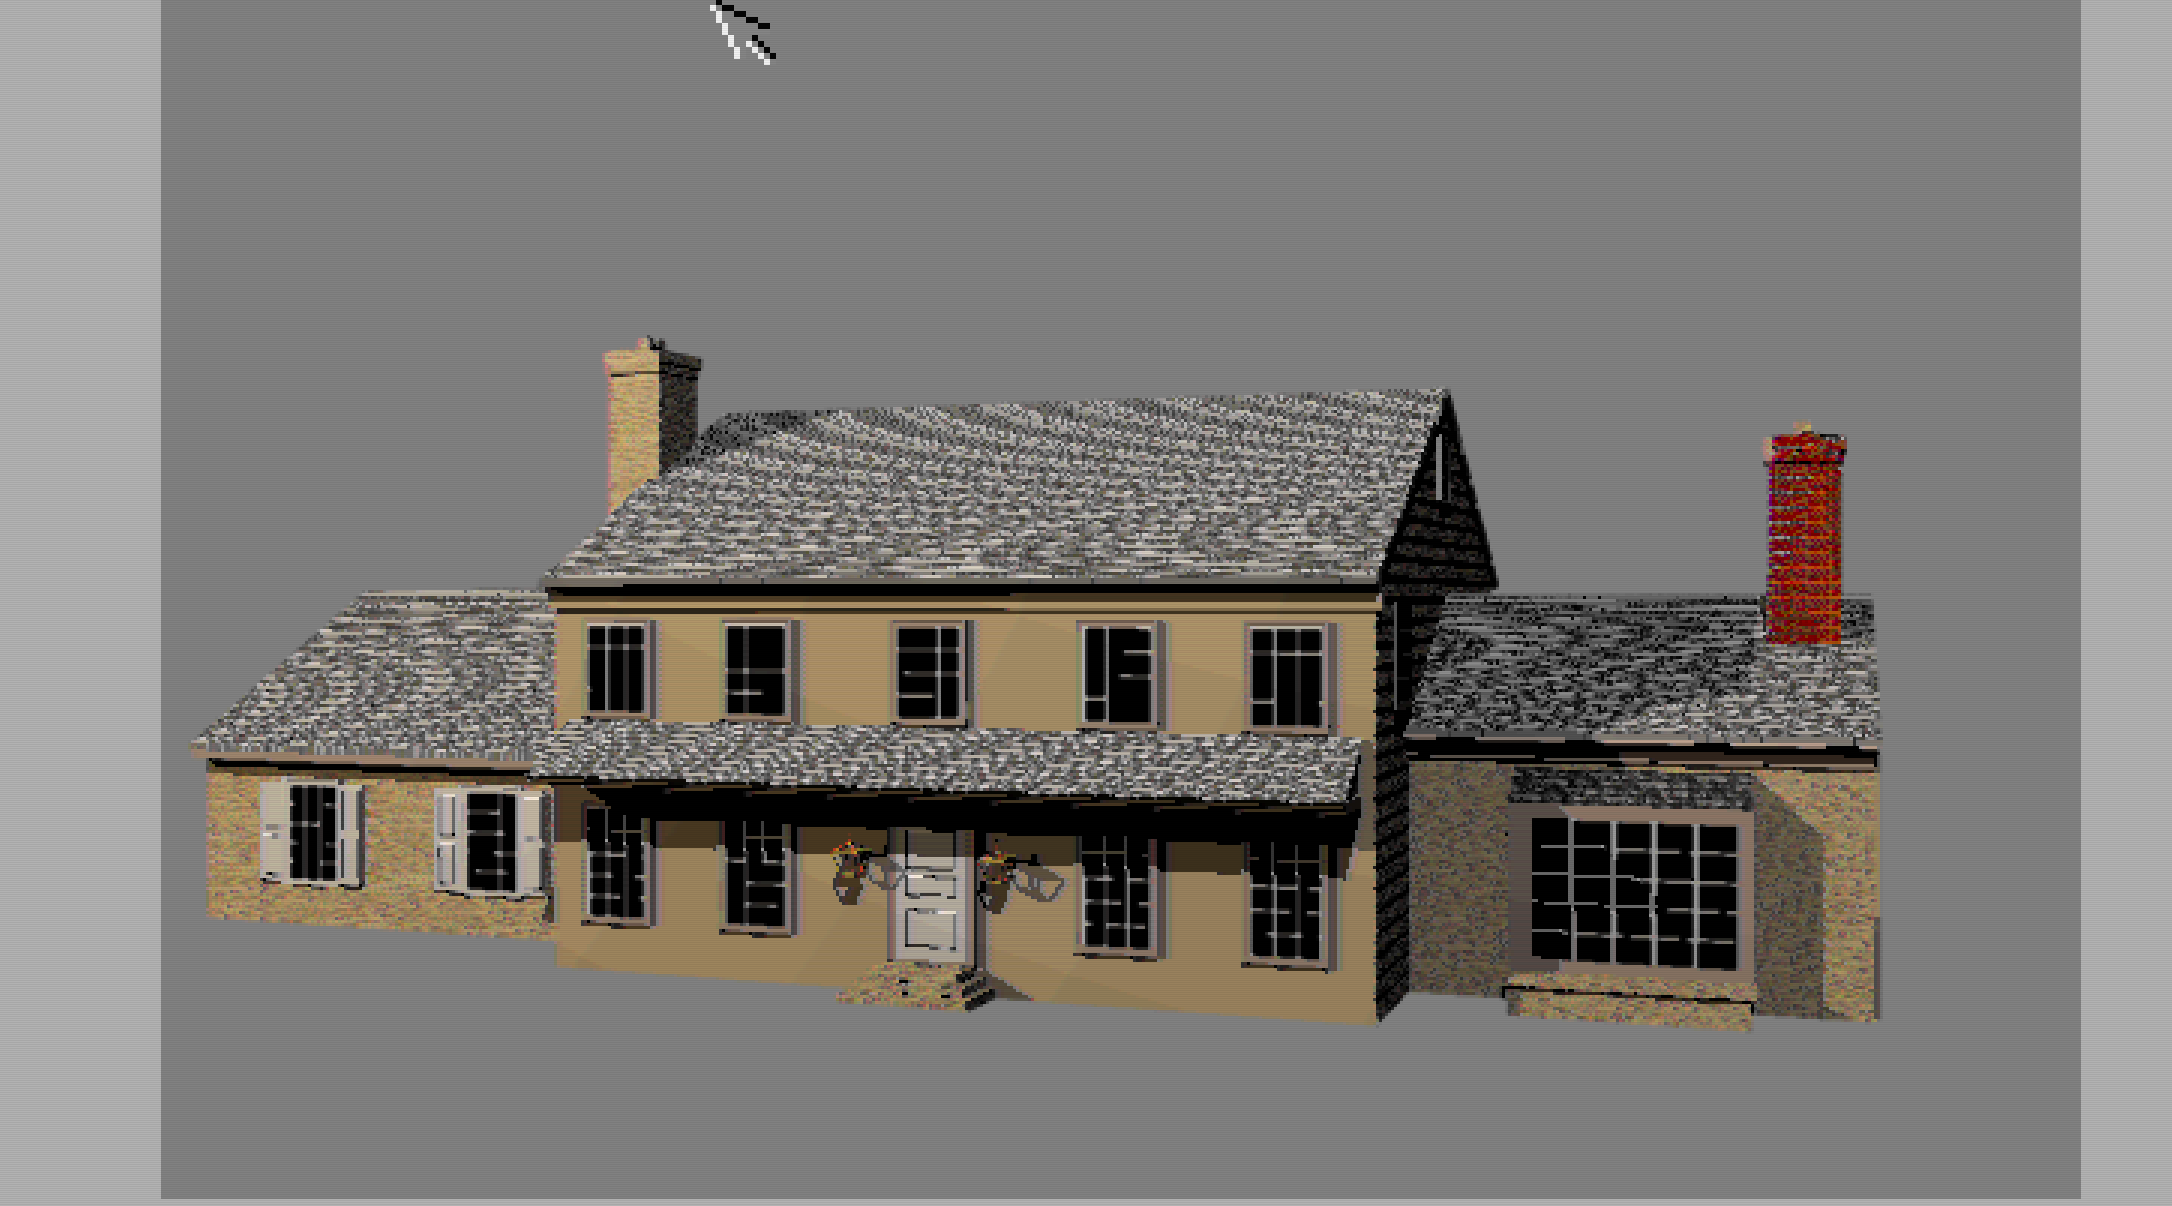
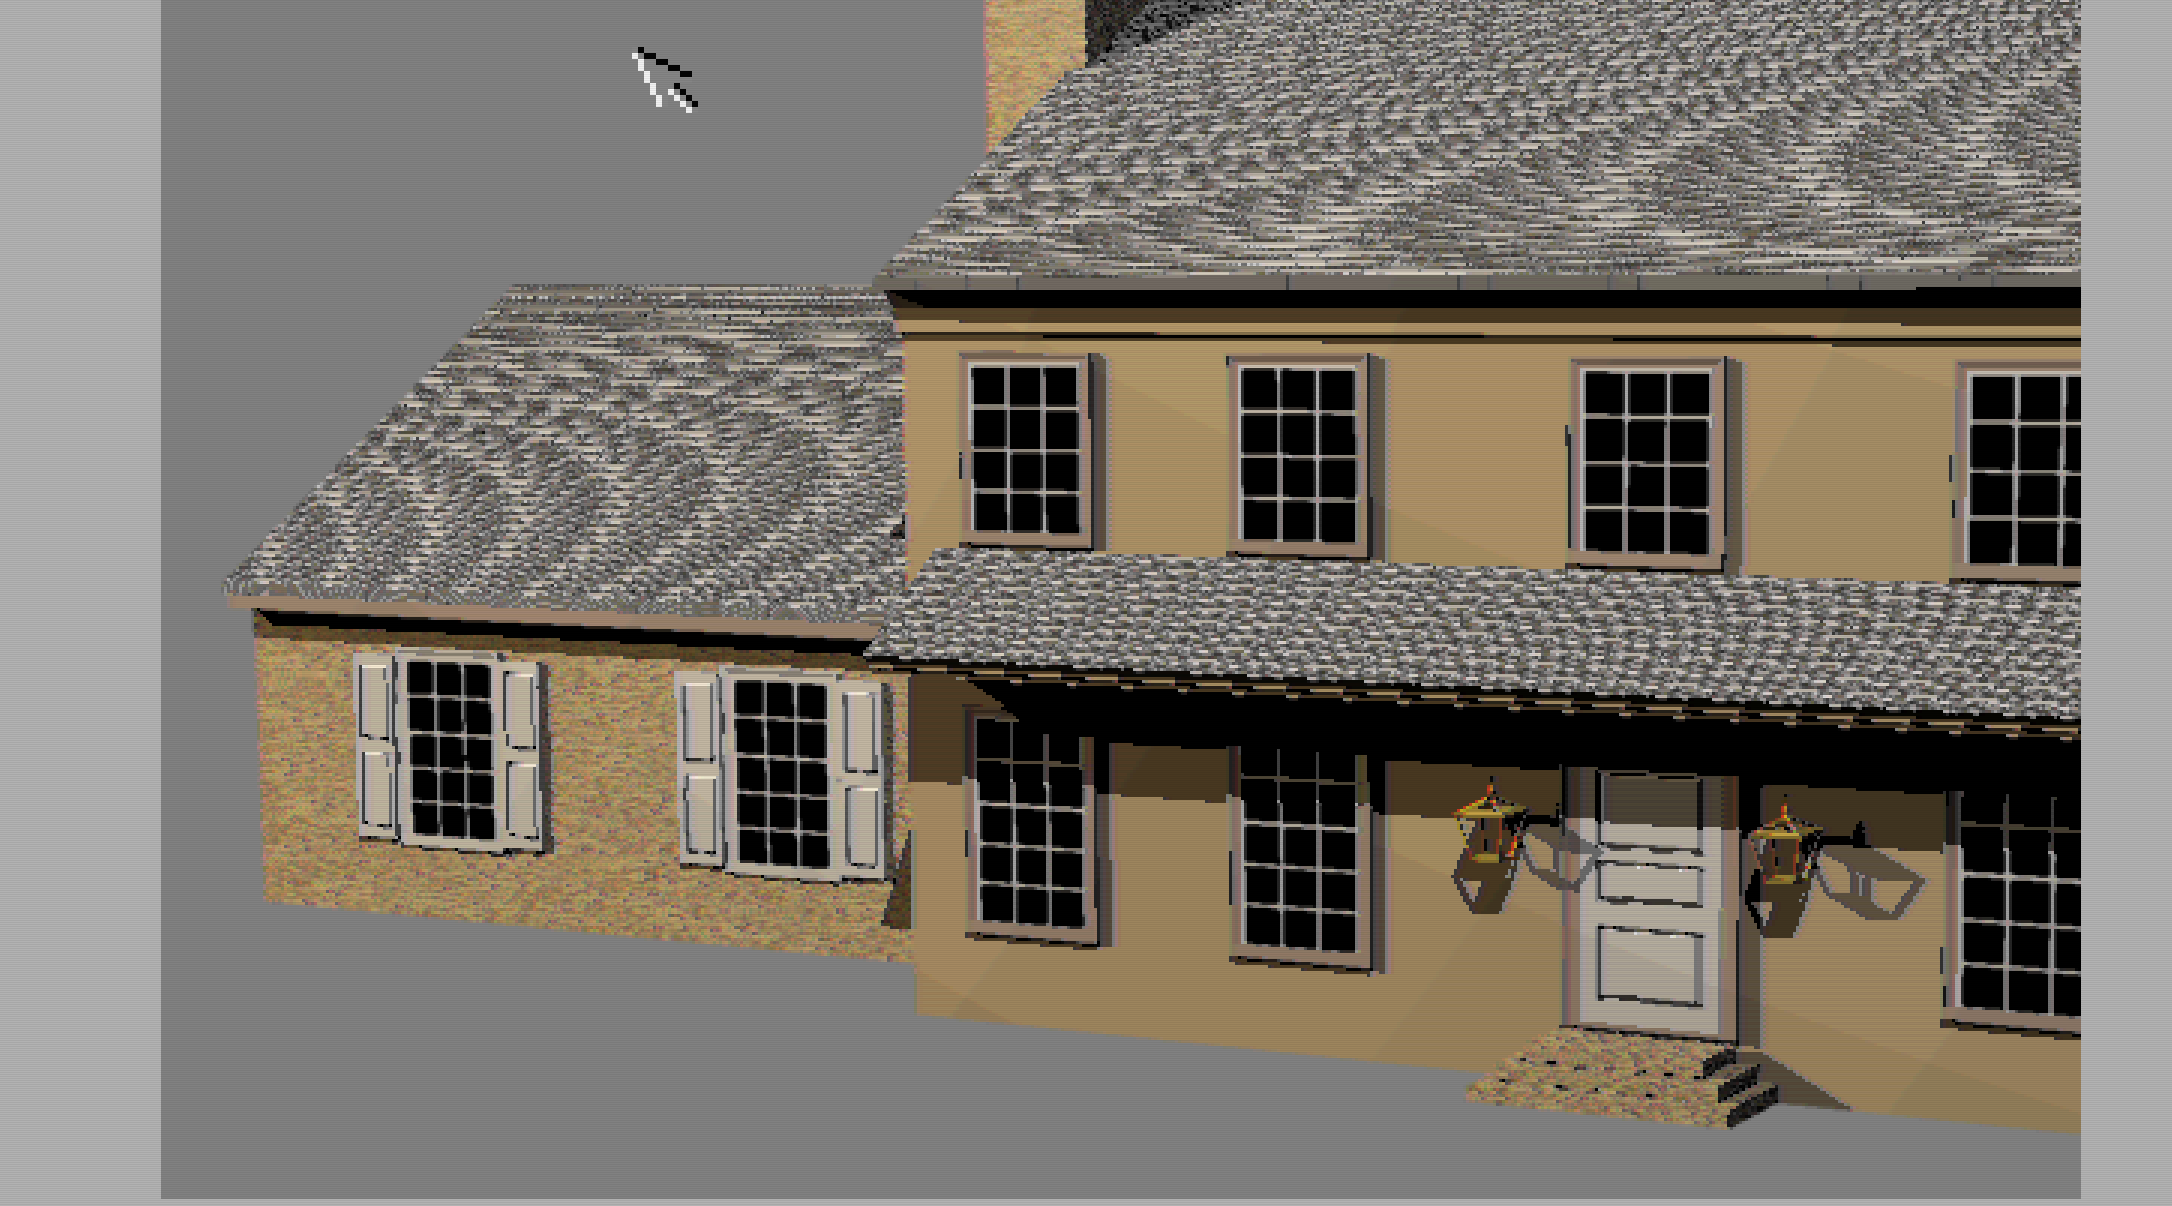
Unfortunately, I could only find one set of project files from those days. I remember doing at least two of these types of 3D previews, one for a quarter million dollar home (at that time) and one for a multimillion dollar estate. The pictures below were re-rendered from the original project files for the cheaper house. I am missing some of the surface textures originally used. The house was to have a grey stone face on the front, so I substituted a plain stucco look in this instance. The first picture shows the design interface I worked with. Due to some of the fine details in the house model, and the low resolution of the rendered images, you’ll see artifacts in the windows. I rendered additional images with a closer point of view to help bring out the details.
This is what that house looks like today, using an image that was captured from Google Maps Street View (which is why there is a visible vertical seam in the middle)…

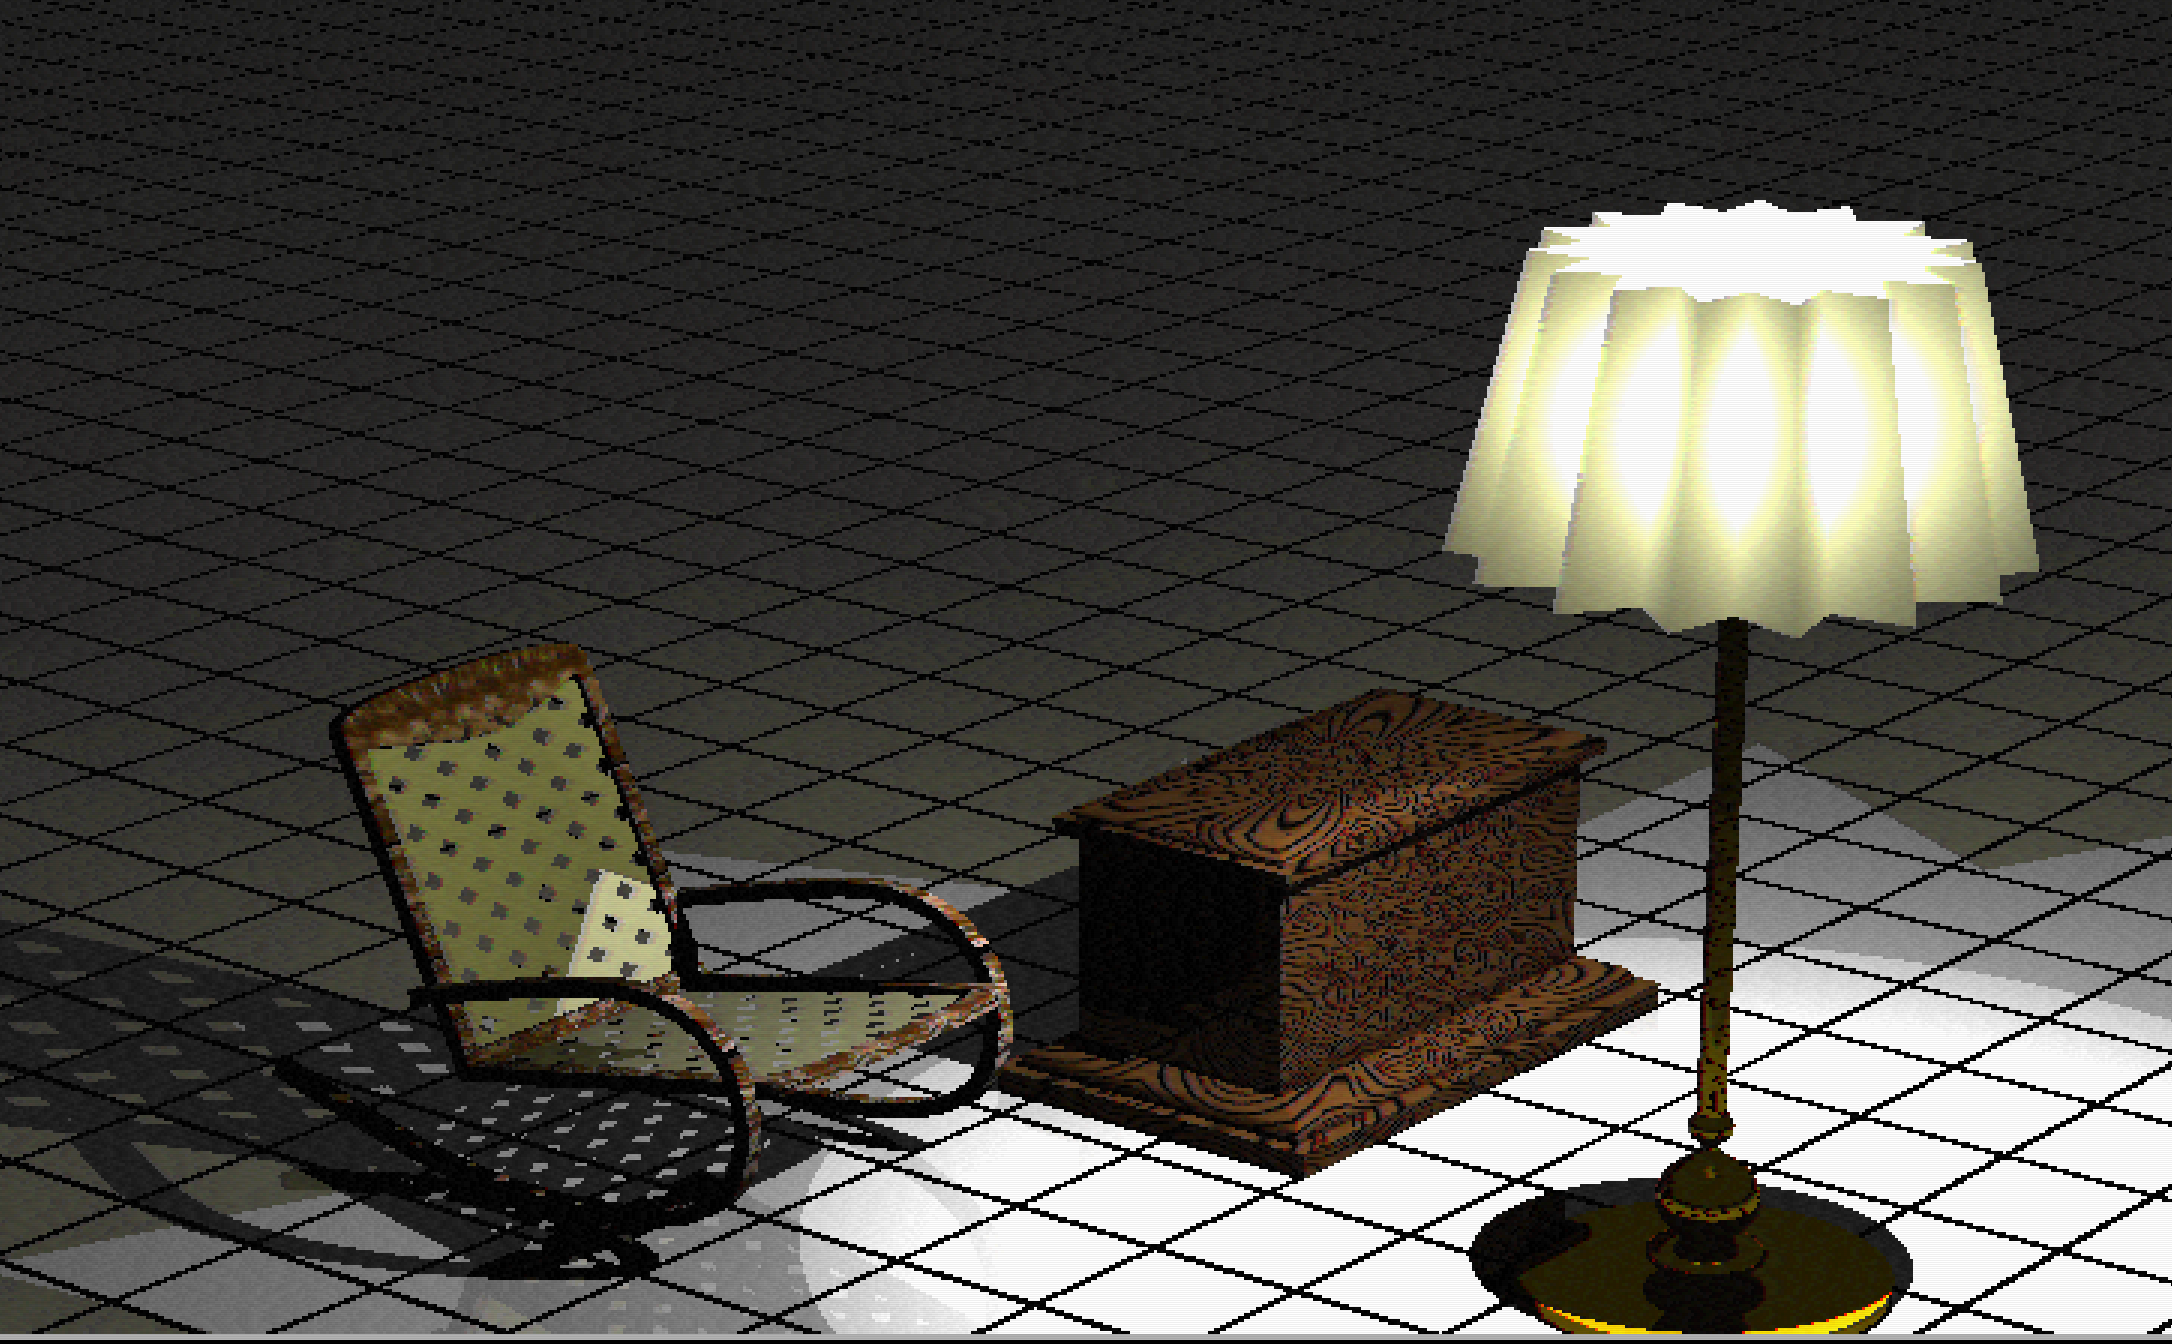
When I wasn’t trying to make a few bucks from my hobby, I was learning more about the 3D tools available to me. I would create some objects and put them in an environment to test out different materials, lighting, and shadow settings as depicted in this picture:
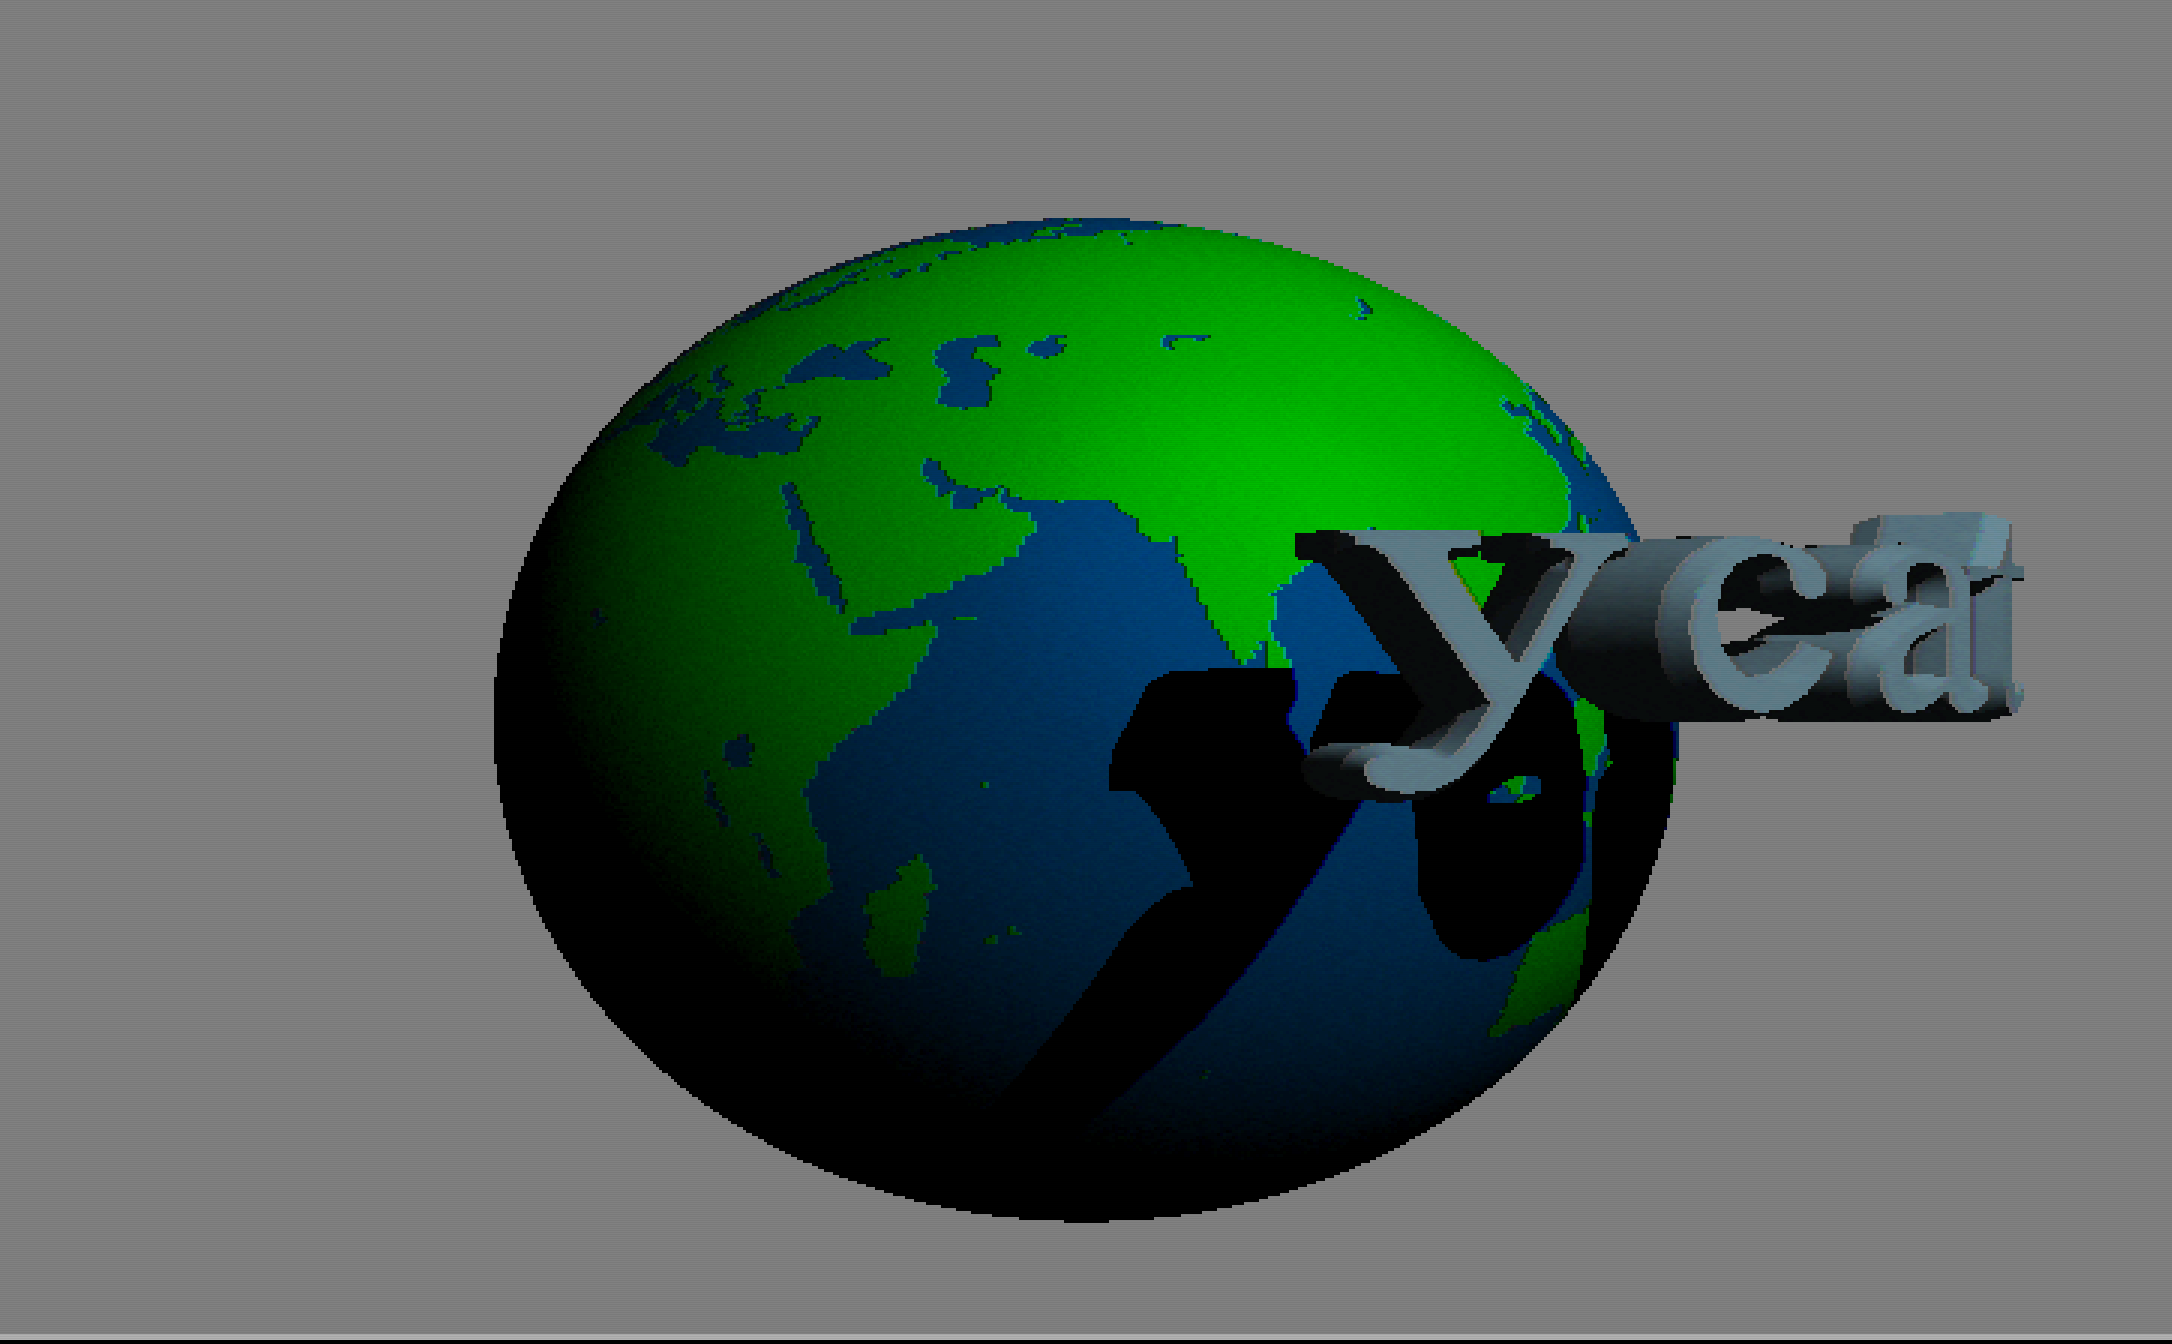
Below is part of an animation I was creating for the local cable public access channel. I used the Universal Studios opening sequence as inspiration. It’s far from finished and more a proof of concept while I learned some additional animation techniques.
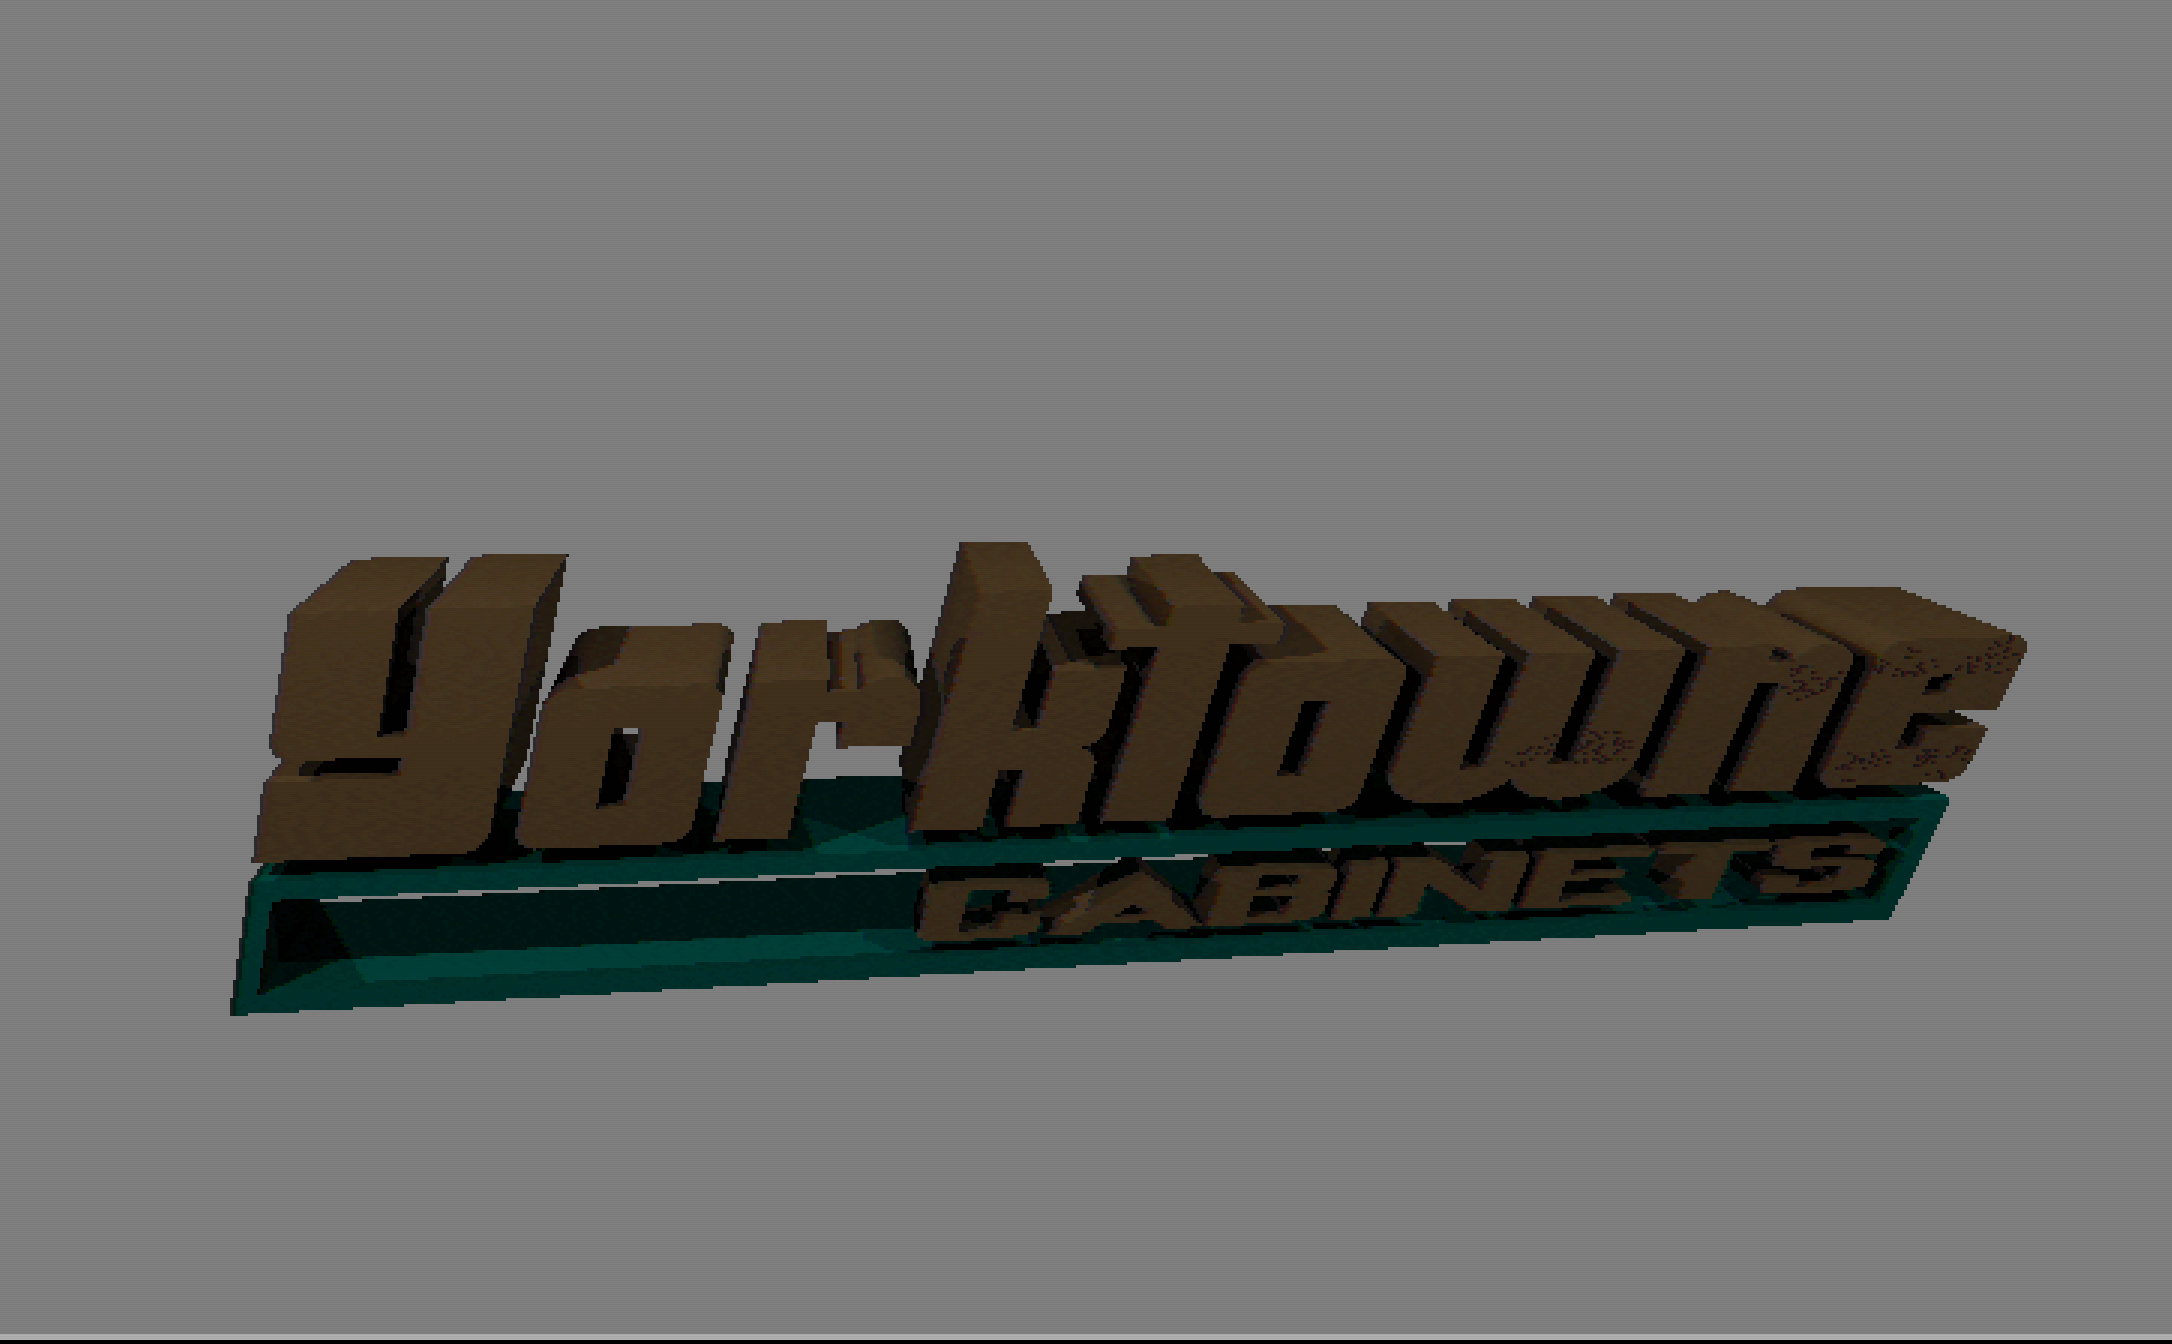
I even dabbled in company logos. I realize that today, the “3D extruded” look is blasé, but back then, it was a desired design concept.
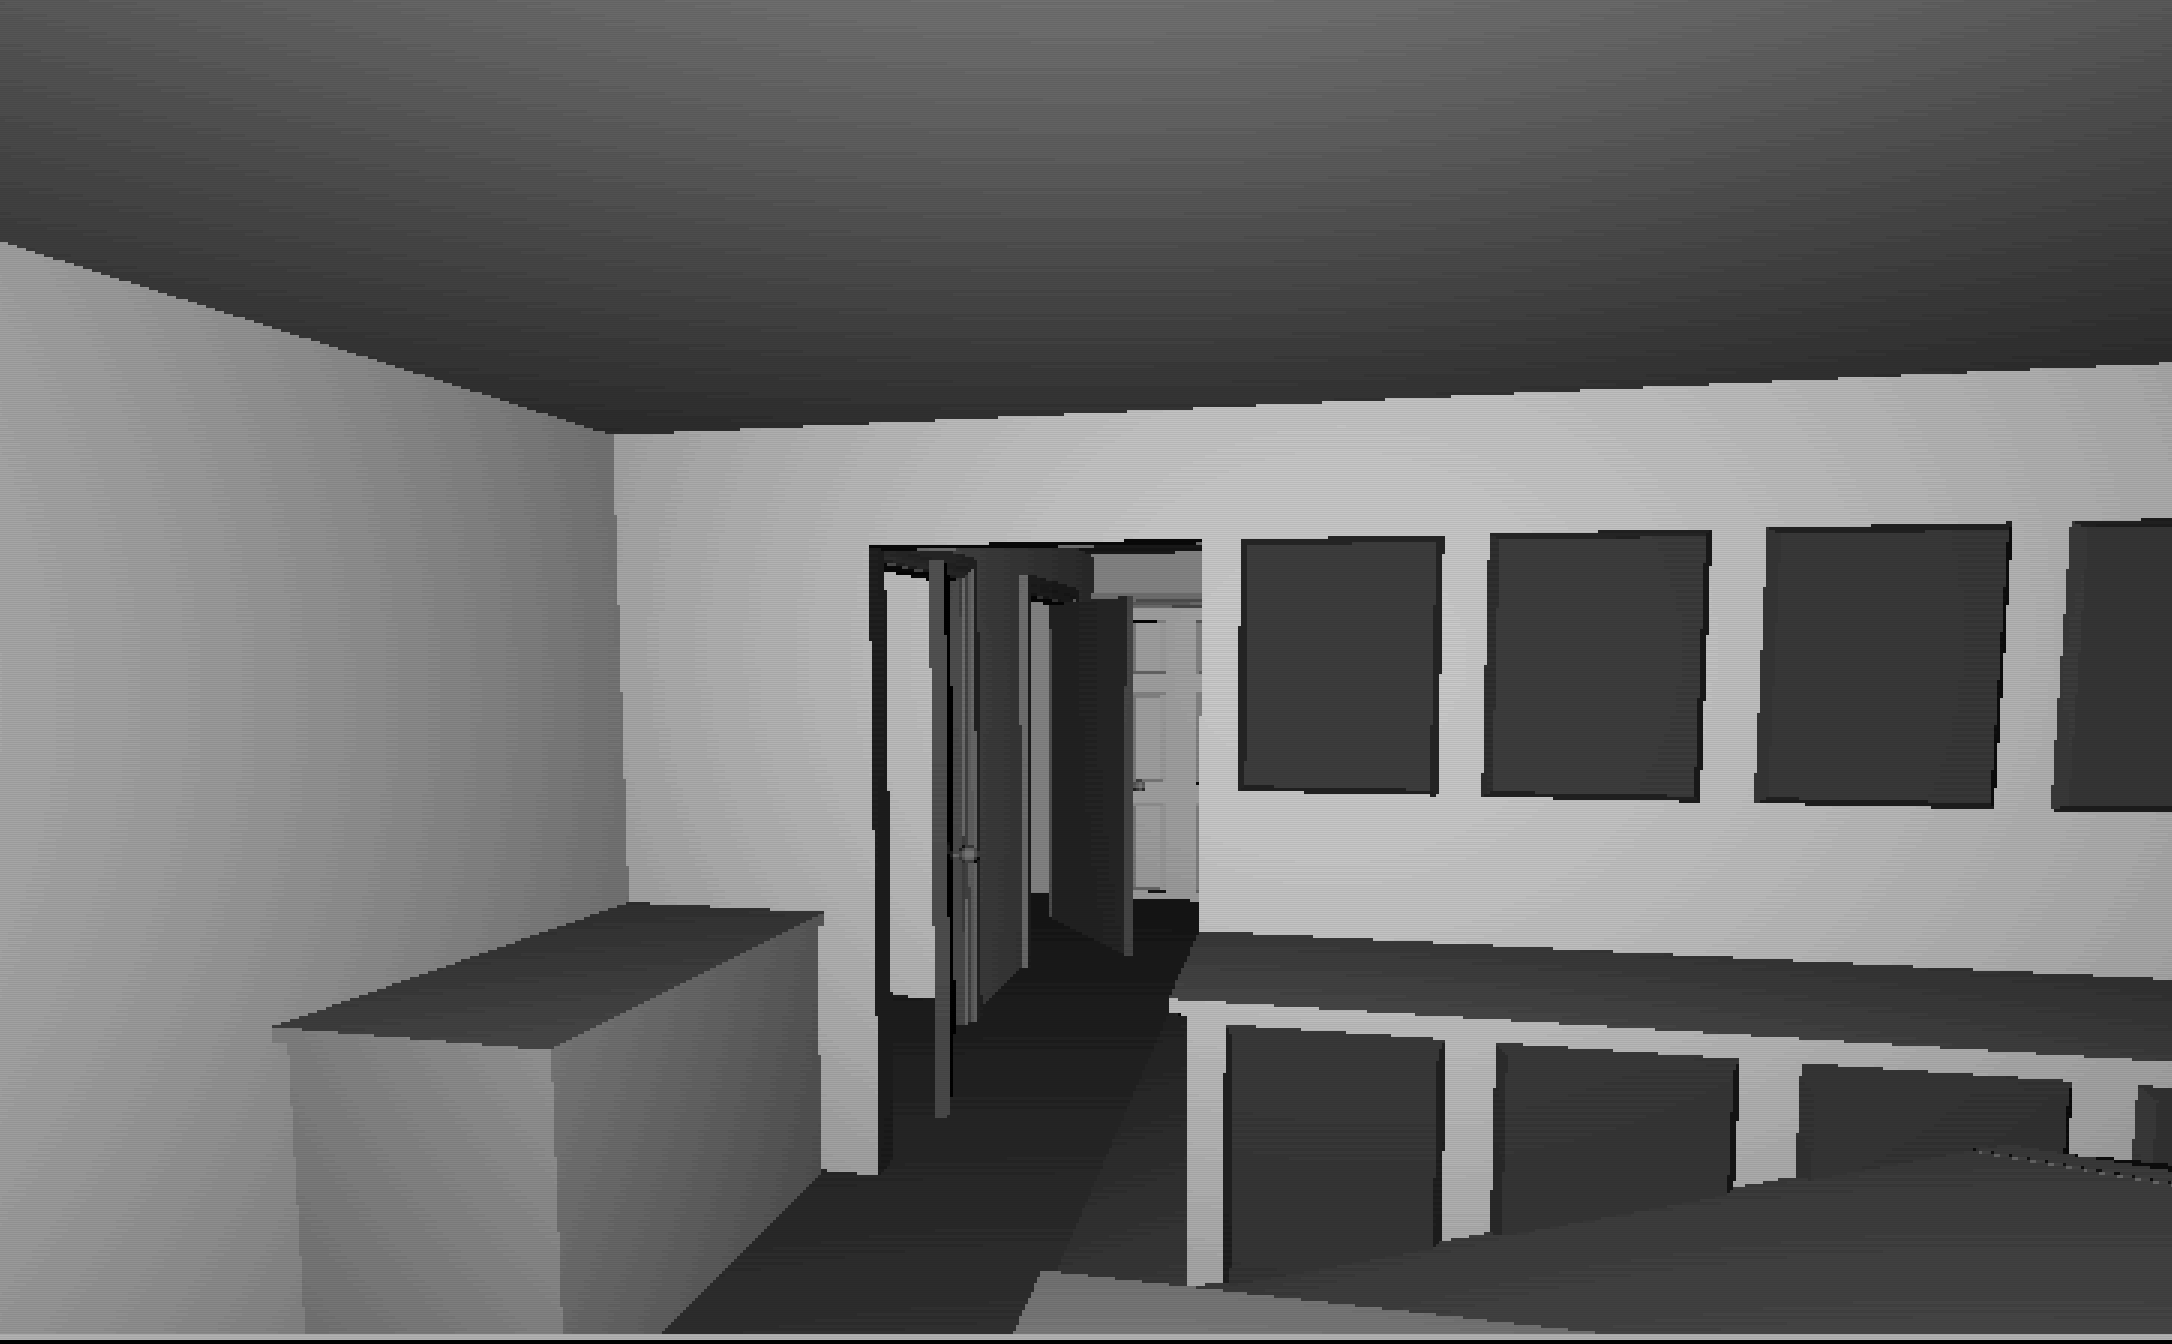
I also worked on interior design. This particular model was colored with a large number of texture images which I don’t have access to at the moment. They are probably still on a bunch of yet to be recovered floppies. So, I rendered it in “draft” mode which shades the objects within the scene, making them look like they were created with Plaster of Paris, but you should get the idea from the image. You are “standing” in a room, looking out to a hallway that has a few doors open.
Creating 3D graphics did not end for me when I set my Amiga aside many years ago when jumping onboard the Windows bandwagon. It was still a hobby to me. Today, I take the techniques I learned on my Amiga and apply them to a fully featured open-source 3D package called Blender. The tools and features available in Blender are on par with Hollywood special effects and rendering software used today. Other than some much needed familiarization with the Blender interface, general 3D modeling concepts I had learned long ago helped me achieve that familiarization with less of a learning curve. Although I will most likely not be rendering 3D images on my Amiga with the dedication I put into it back then, I still appreciated the ability and affordability of doing so with my trusty and powerful Amiga 500!

Thank you.
Looking back to that time, I can’t remember even seeing
a Commodore Amigo. I had read about it a lot and I
Was hooked to Atari ST. Based on the rock solid
Atari 800 +400. Ah, the time has passed.
Computers are a young man’s game now.
Thanks again over and out.
Thanks for reading the article.
A good friend of mine was big into Atari ST. But he was also an Amiga aficionado. For me, the Amiga was a natural upgrade path from the Commodore computers I owned before it, having owned the VIC-20, Commodore 64, and Commodore 128.