I promised, both on this website and at VCFEast XII that I would release the details of the hardware and software involved in the “cross compiling” of Assembly language software on the Commodore 64. This article is the fulfillment of that promise.
But first, let me define once again what “cross compiling” means in this context. Lately, the term cross compile means to compile executable code on a computer system of a different architecture than that of the target computer. These days, you can actually write Commodore 64 software on a PC in Windows and it will run on a Commodore 64 after it’s transferred somehow to a real Commodore 64, or it can be run within a Commodore 64 emulator. In this case, cross compiling is a term I used some creative license on, meaning that Assembly language can be written on one Commodore 64 and compiled directly to RAM on another Commodore 64 through a special cable.
That is the real trick, having the special cable. I will describe how to make an appropriate cable later in this article. There is also another trick in the process. This technique requires a specially modded Assembler program for the Commodore 64. That will be taken care of later in this article, too. I have a specially modded version of PAL Assembler for the Commodore 64. The modification involves a wedge of code that interjects itself into the compiler right where the compiler attempts to compile the code to floppy disk. Instead, the wedge code redirects the compiled bytes through the User Port to another Commodore 64 that is running resident code to receive it. The compiled code goes to RAM on the other Commodore 64 instead of to disk.
These days, that may not seem like such a big deal because we have storage resources far beyond the capacity and speed of what was easily affordable in the 8-bit computing days. But back in the day, when you had to write code, compile to disk, restart the computer, test the program you wrote, restart the computer, add/fix your code, repeat ad nauseum, that became rather tiresome before long.
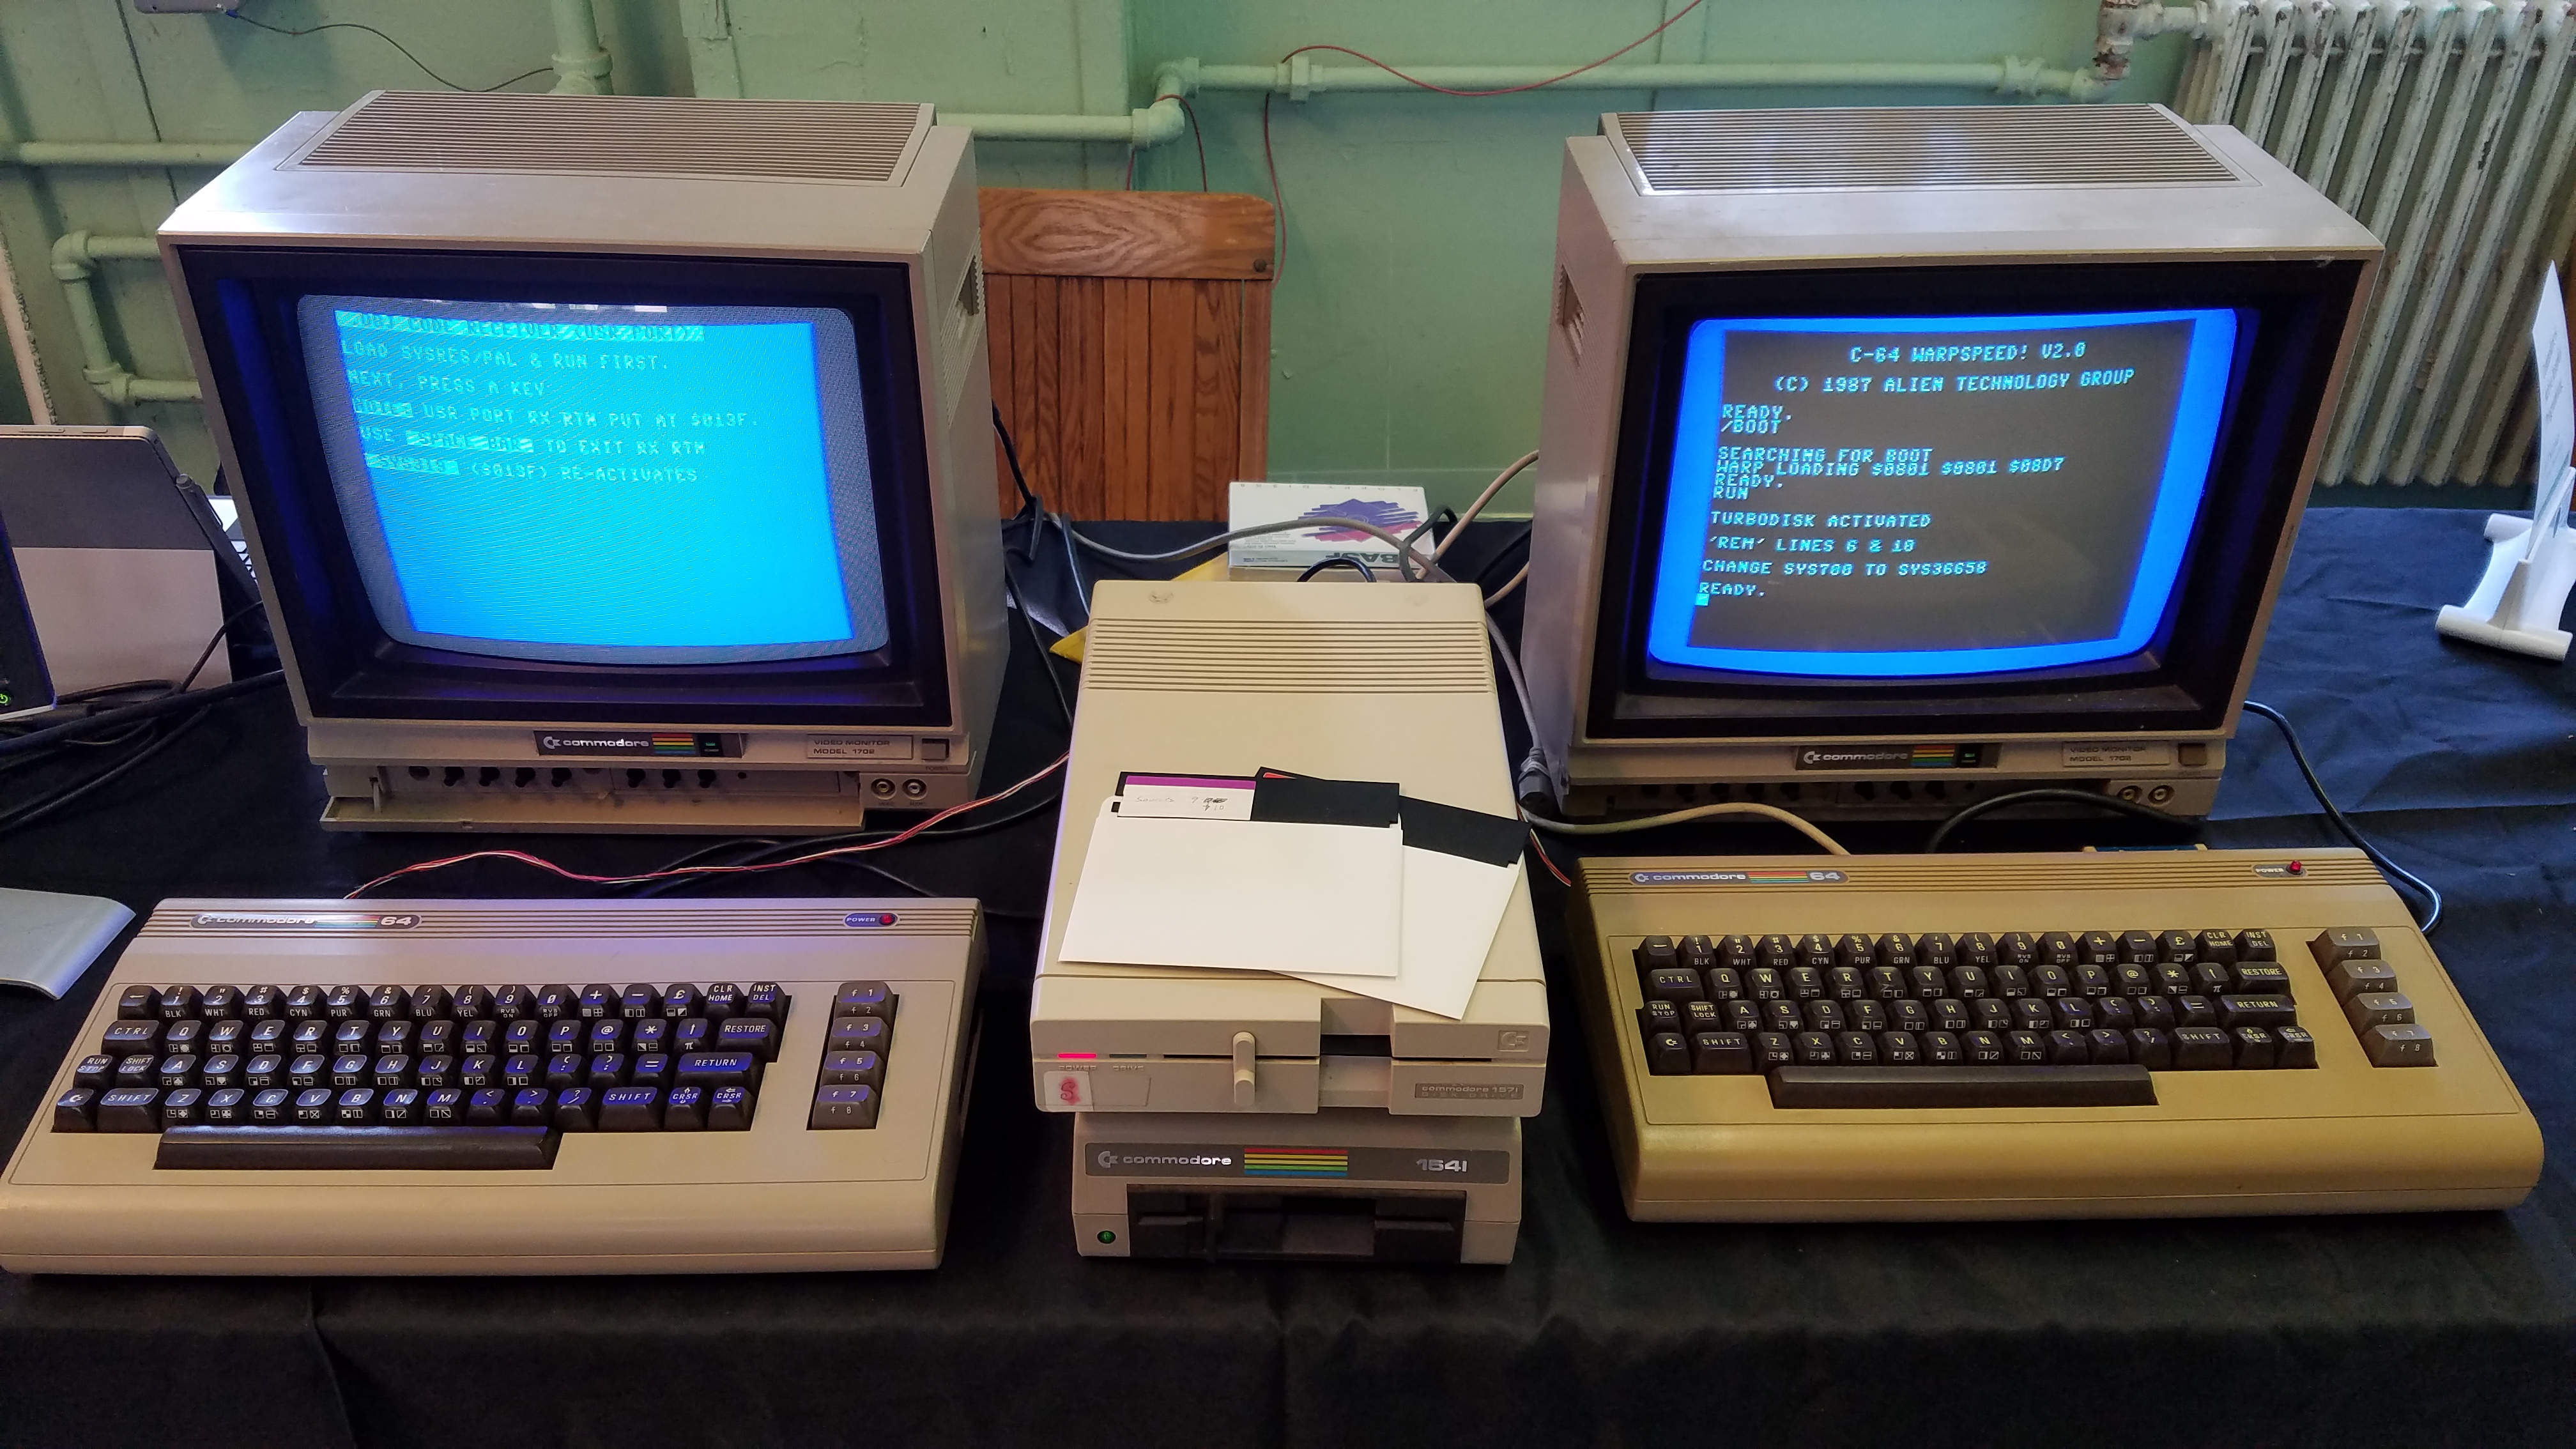
So if you had another Commodore 64 setup, along with this special cable and modified software, you could compile directly to the other Commodore 64, saving the time of compiling to a disk and restarting the computer all the time.
Special Cable
To get started, you will need to assemble a special cable. This cable requires two Commodore User Port connectors. These typically have solder tabs to make things easy to wire up. You can make the wires as long as you wish, but anything too long may be subject to outside interference. The cable I have was given to me by the original designer, who has given me permission to pass along the custom design.
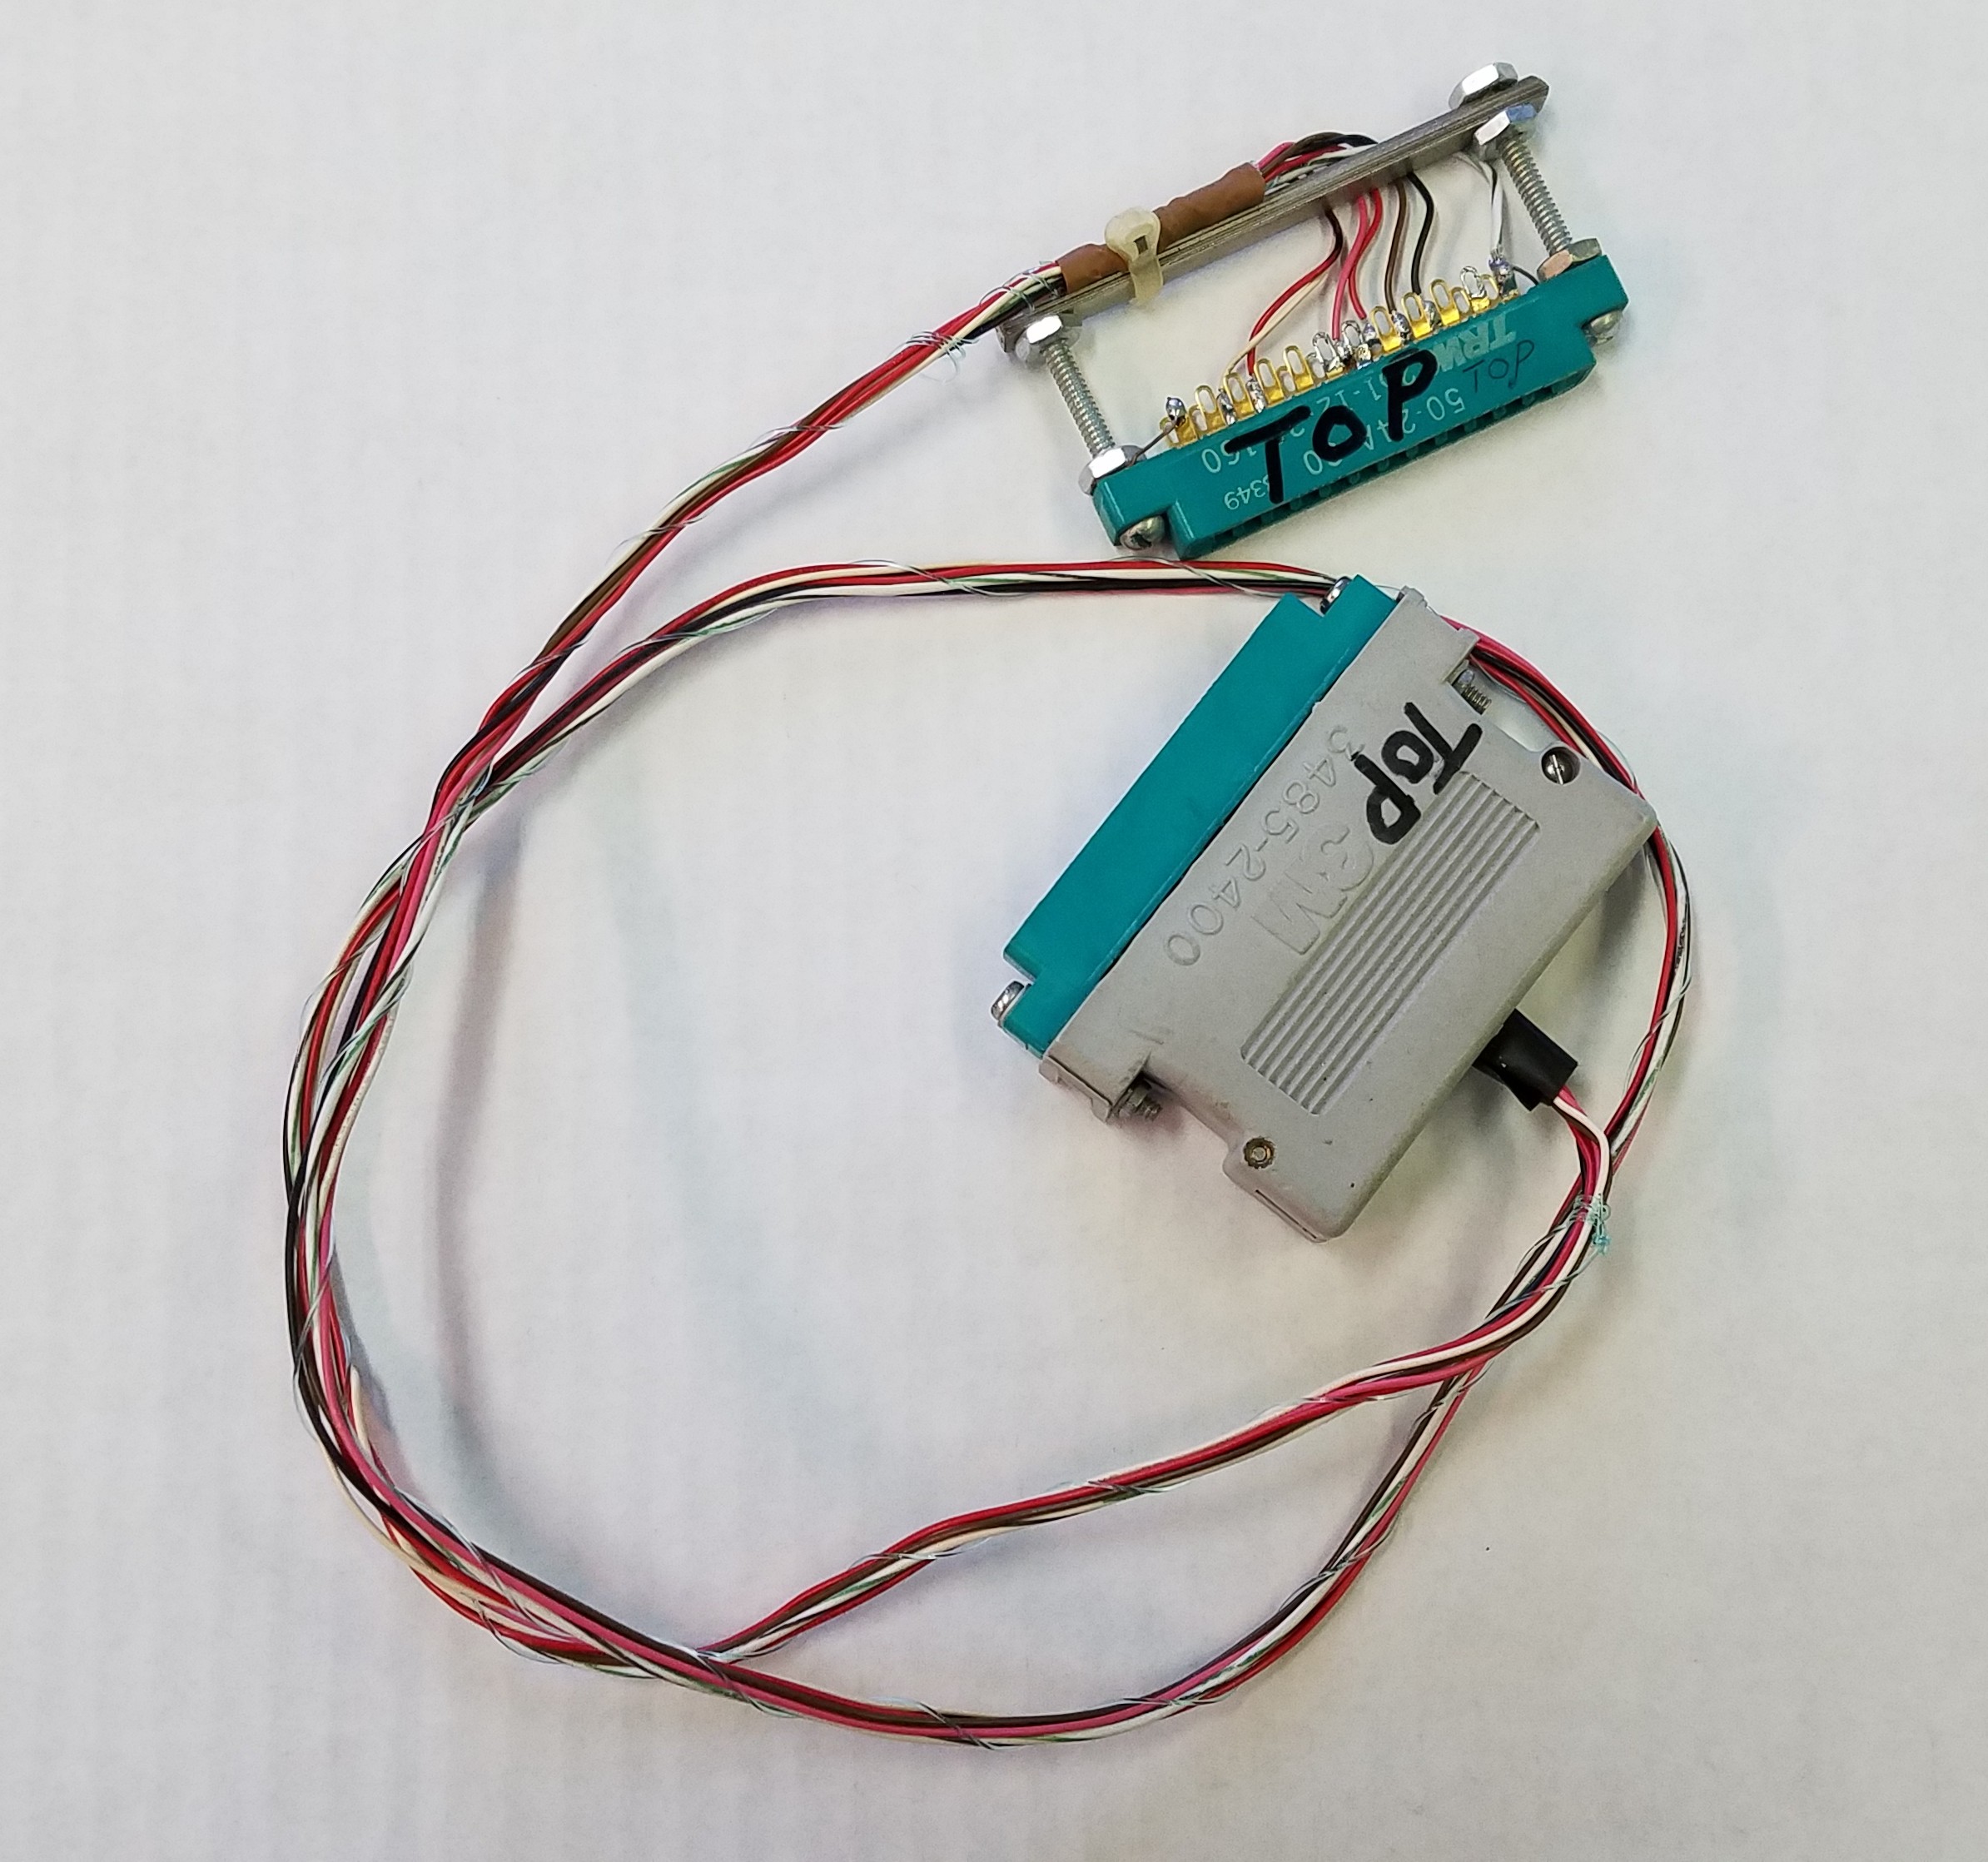
It is IMPORTANT to make sure you identify TOP of the connectors. If you reverse the connector when hooking it up to the computer, you can blow out important components in you Commodore 64. Ask me what happened to my SX-64 when I did just that. 🙁
The User Port connectors, when looked at from the solder tab side, will have a row of numbers and a row of letters. When wired as shown in the diagram below, the numbers edge will be the TOP edge for each connector when plugged into the Commodore 64.