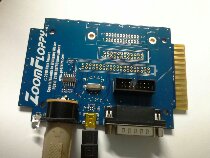
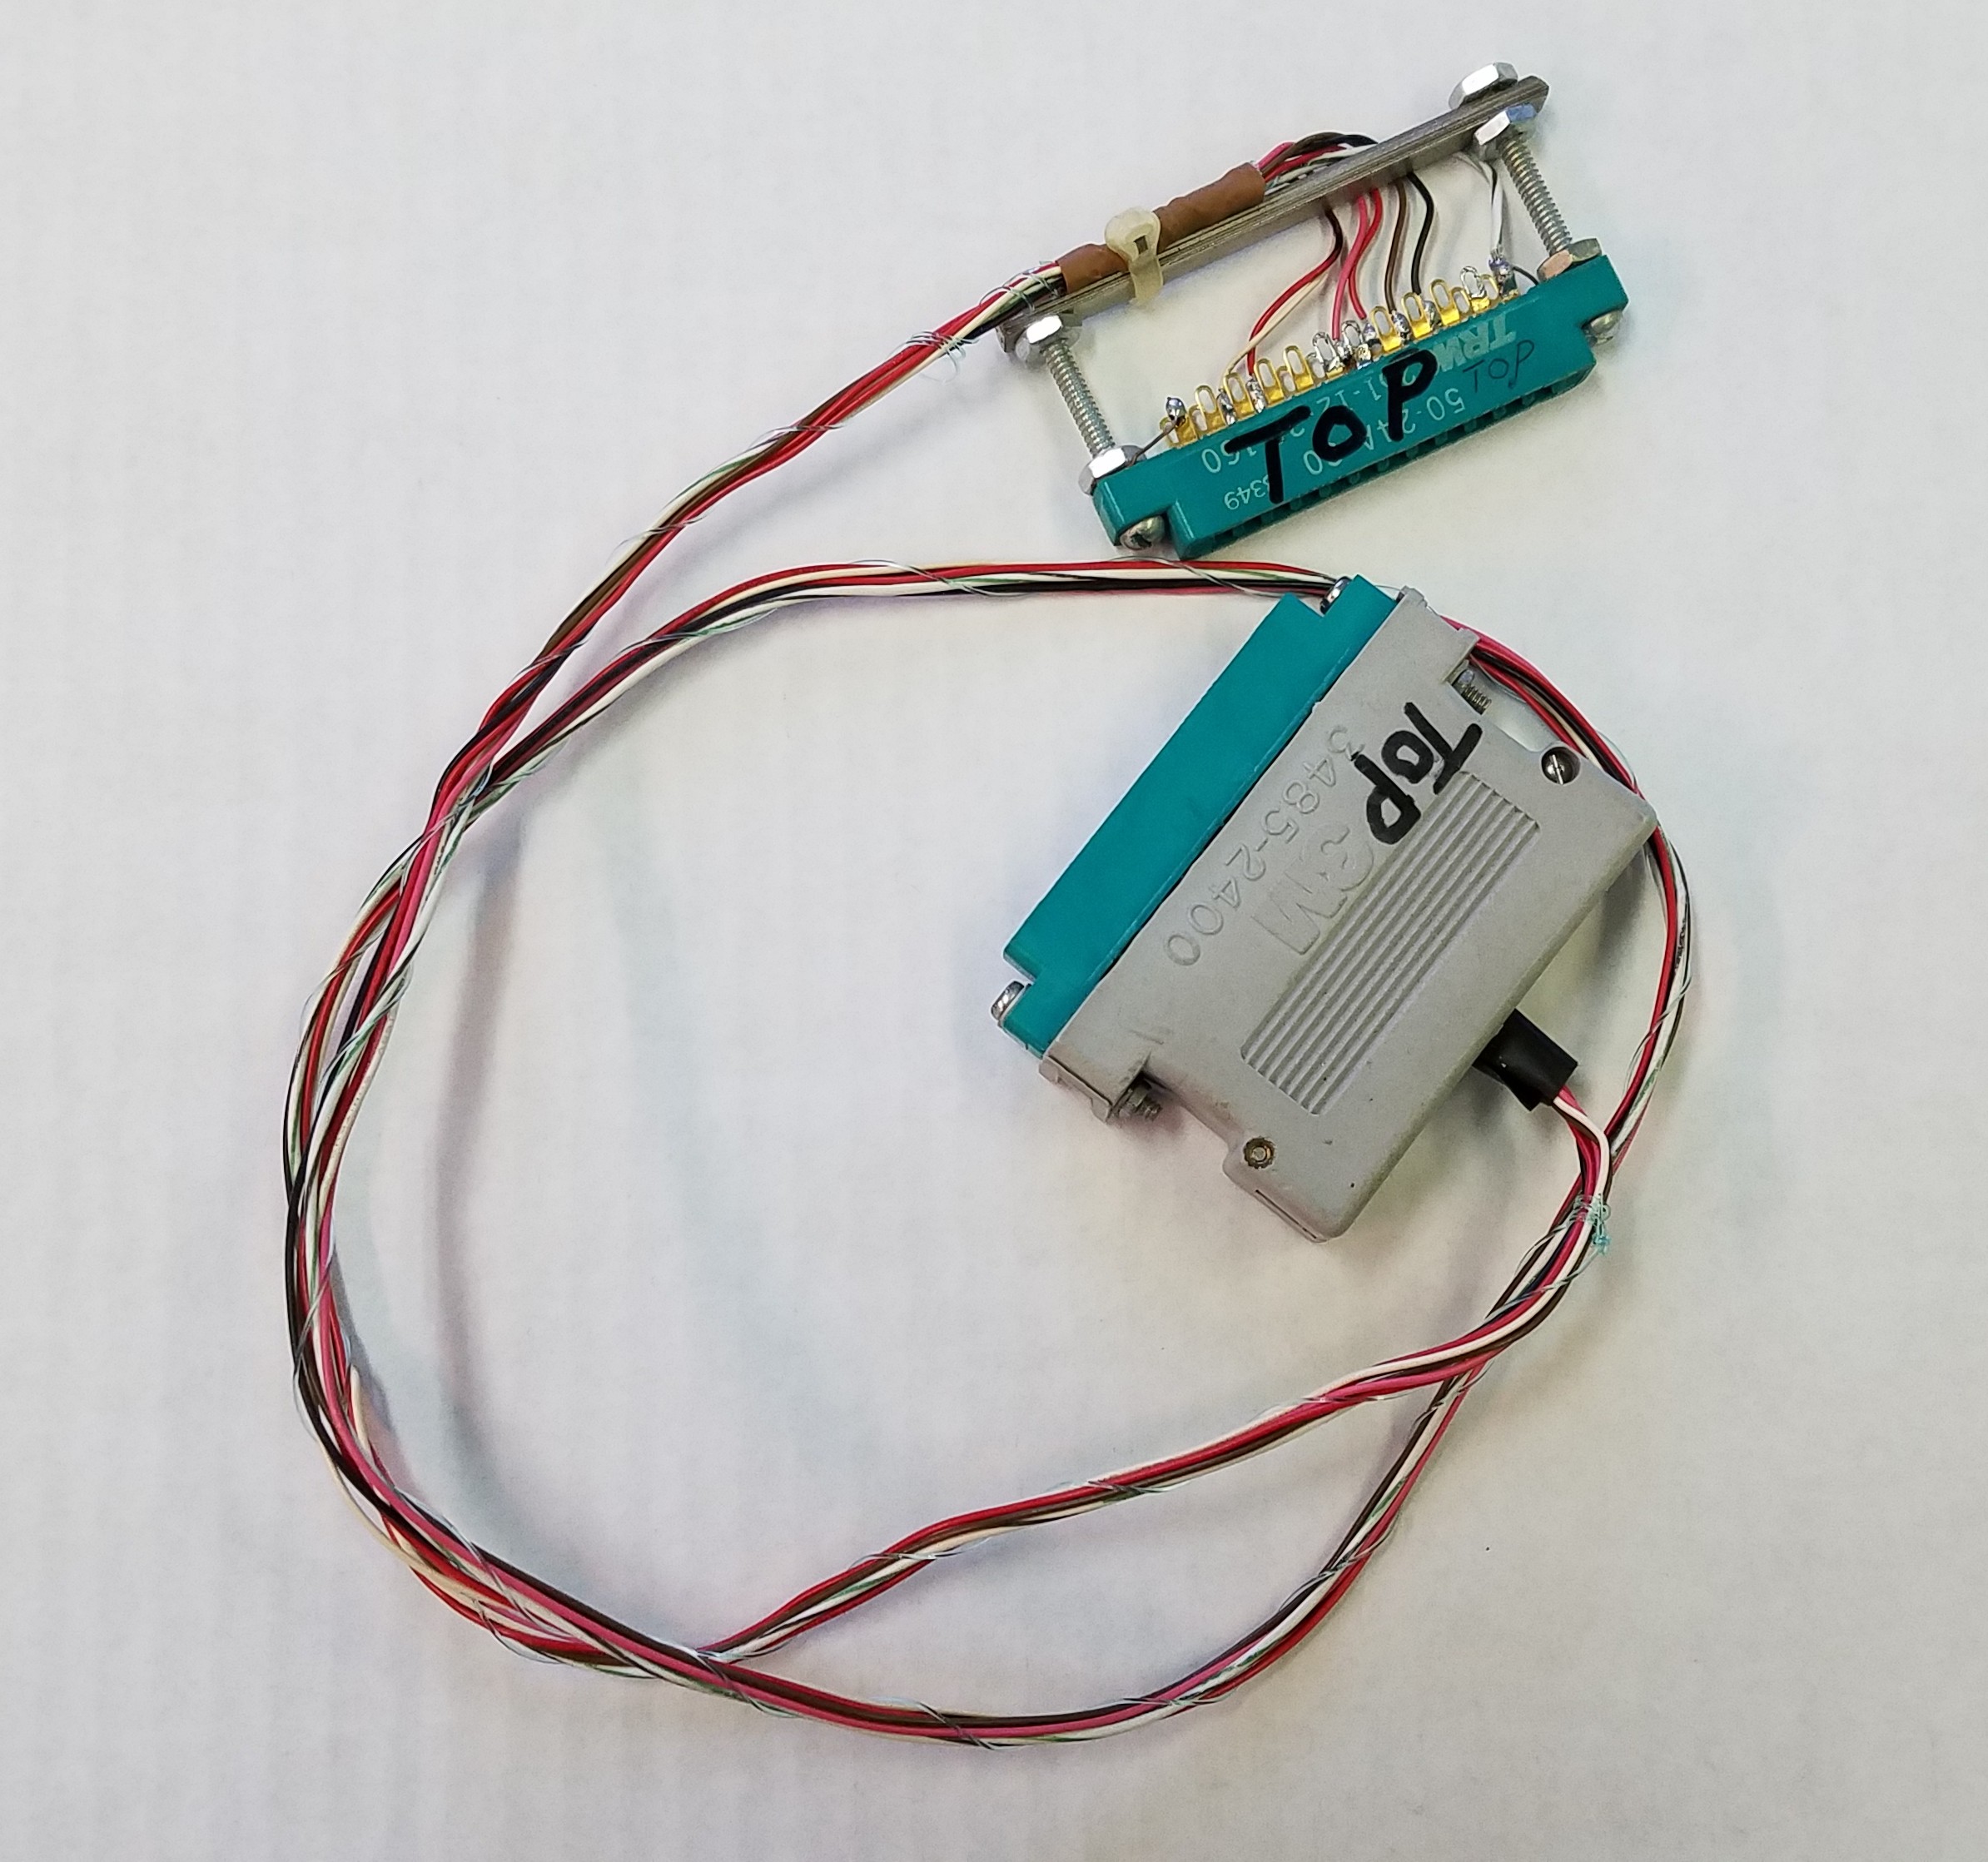
A little over a year ago, I bought a useful hardware adapter which makes the transfer of Commodore 8-bit floppy disks seem like an elementary task. In the past, I used to use one of the printer port to IEC adapters called an X1541 cable. It was a simple design, and I fabricated the cable myself using plans which were openly available on the Internet.
The biggest problem with the X1541 cable was due to timing issues related to the many configurations of PC printer ports. You had to make sure your port was configured properly, as an EPP or ECP port, depending on the version of X1541 cable you used. Plus, you may have had to use an older PC because newer PCs were running too fast for the special transfer software’s ability to match the transfer speeds of the Commodore disk drives. this is the reason why I did not waste time in purchasing my very own ZoomFloppy adapter as soon as I found out about it.
 The Zoom Floppy adapter is an “intelligent” device utilizing an ATMega32 microprocessor to facilitate the transfer of data to/from a PC or Mac and a Commodore 5.25″disk drive. The modern convenience offered by this adapter is the use of a USB connection instead of a printer port. This eliminates the need to configure hardware speeds manually. The on-board microprocessor takes care of everything.
The reason why it took me so long to use (and review) this device is because I only realized recently that I had a HUGE collection of Commodore floppy disks. That, and the fact that configuring this adapter isn’t exactly intuitive (but it pays off in the long run). However, there are adequate instructions available online to help get the drivers and “toolset” installed.
The toolset is basically a collection of DOS commands which allow you to read and write to/from *.D64 files. You can also format disks in the 1541 disk drive using one of these commands. But, in order to work with individual files on disk, you will need to install other programs. This is where you can experience the convenience of the ZoomFloppy. There is a programming API available. This allows programmers to create GUI based applications to manage disk transfers.
 I use a program called CBMXfer. It’s a simple two-paned file transfer program which works like the old popular DOS program called X-Tree. I’m using it to archive all of my Commodore disks to D64 files. All I need to do is place a disk in the 1541 drive, load up the directory in the right side of the CBMXfer program, and hit the transfer button. The program will prompt me for a filename (it defaults to the floppy’s volume name) and then it will create a D64 file in the PC folder I have selected in the left hand window… wash, rinse, repeat.
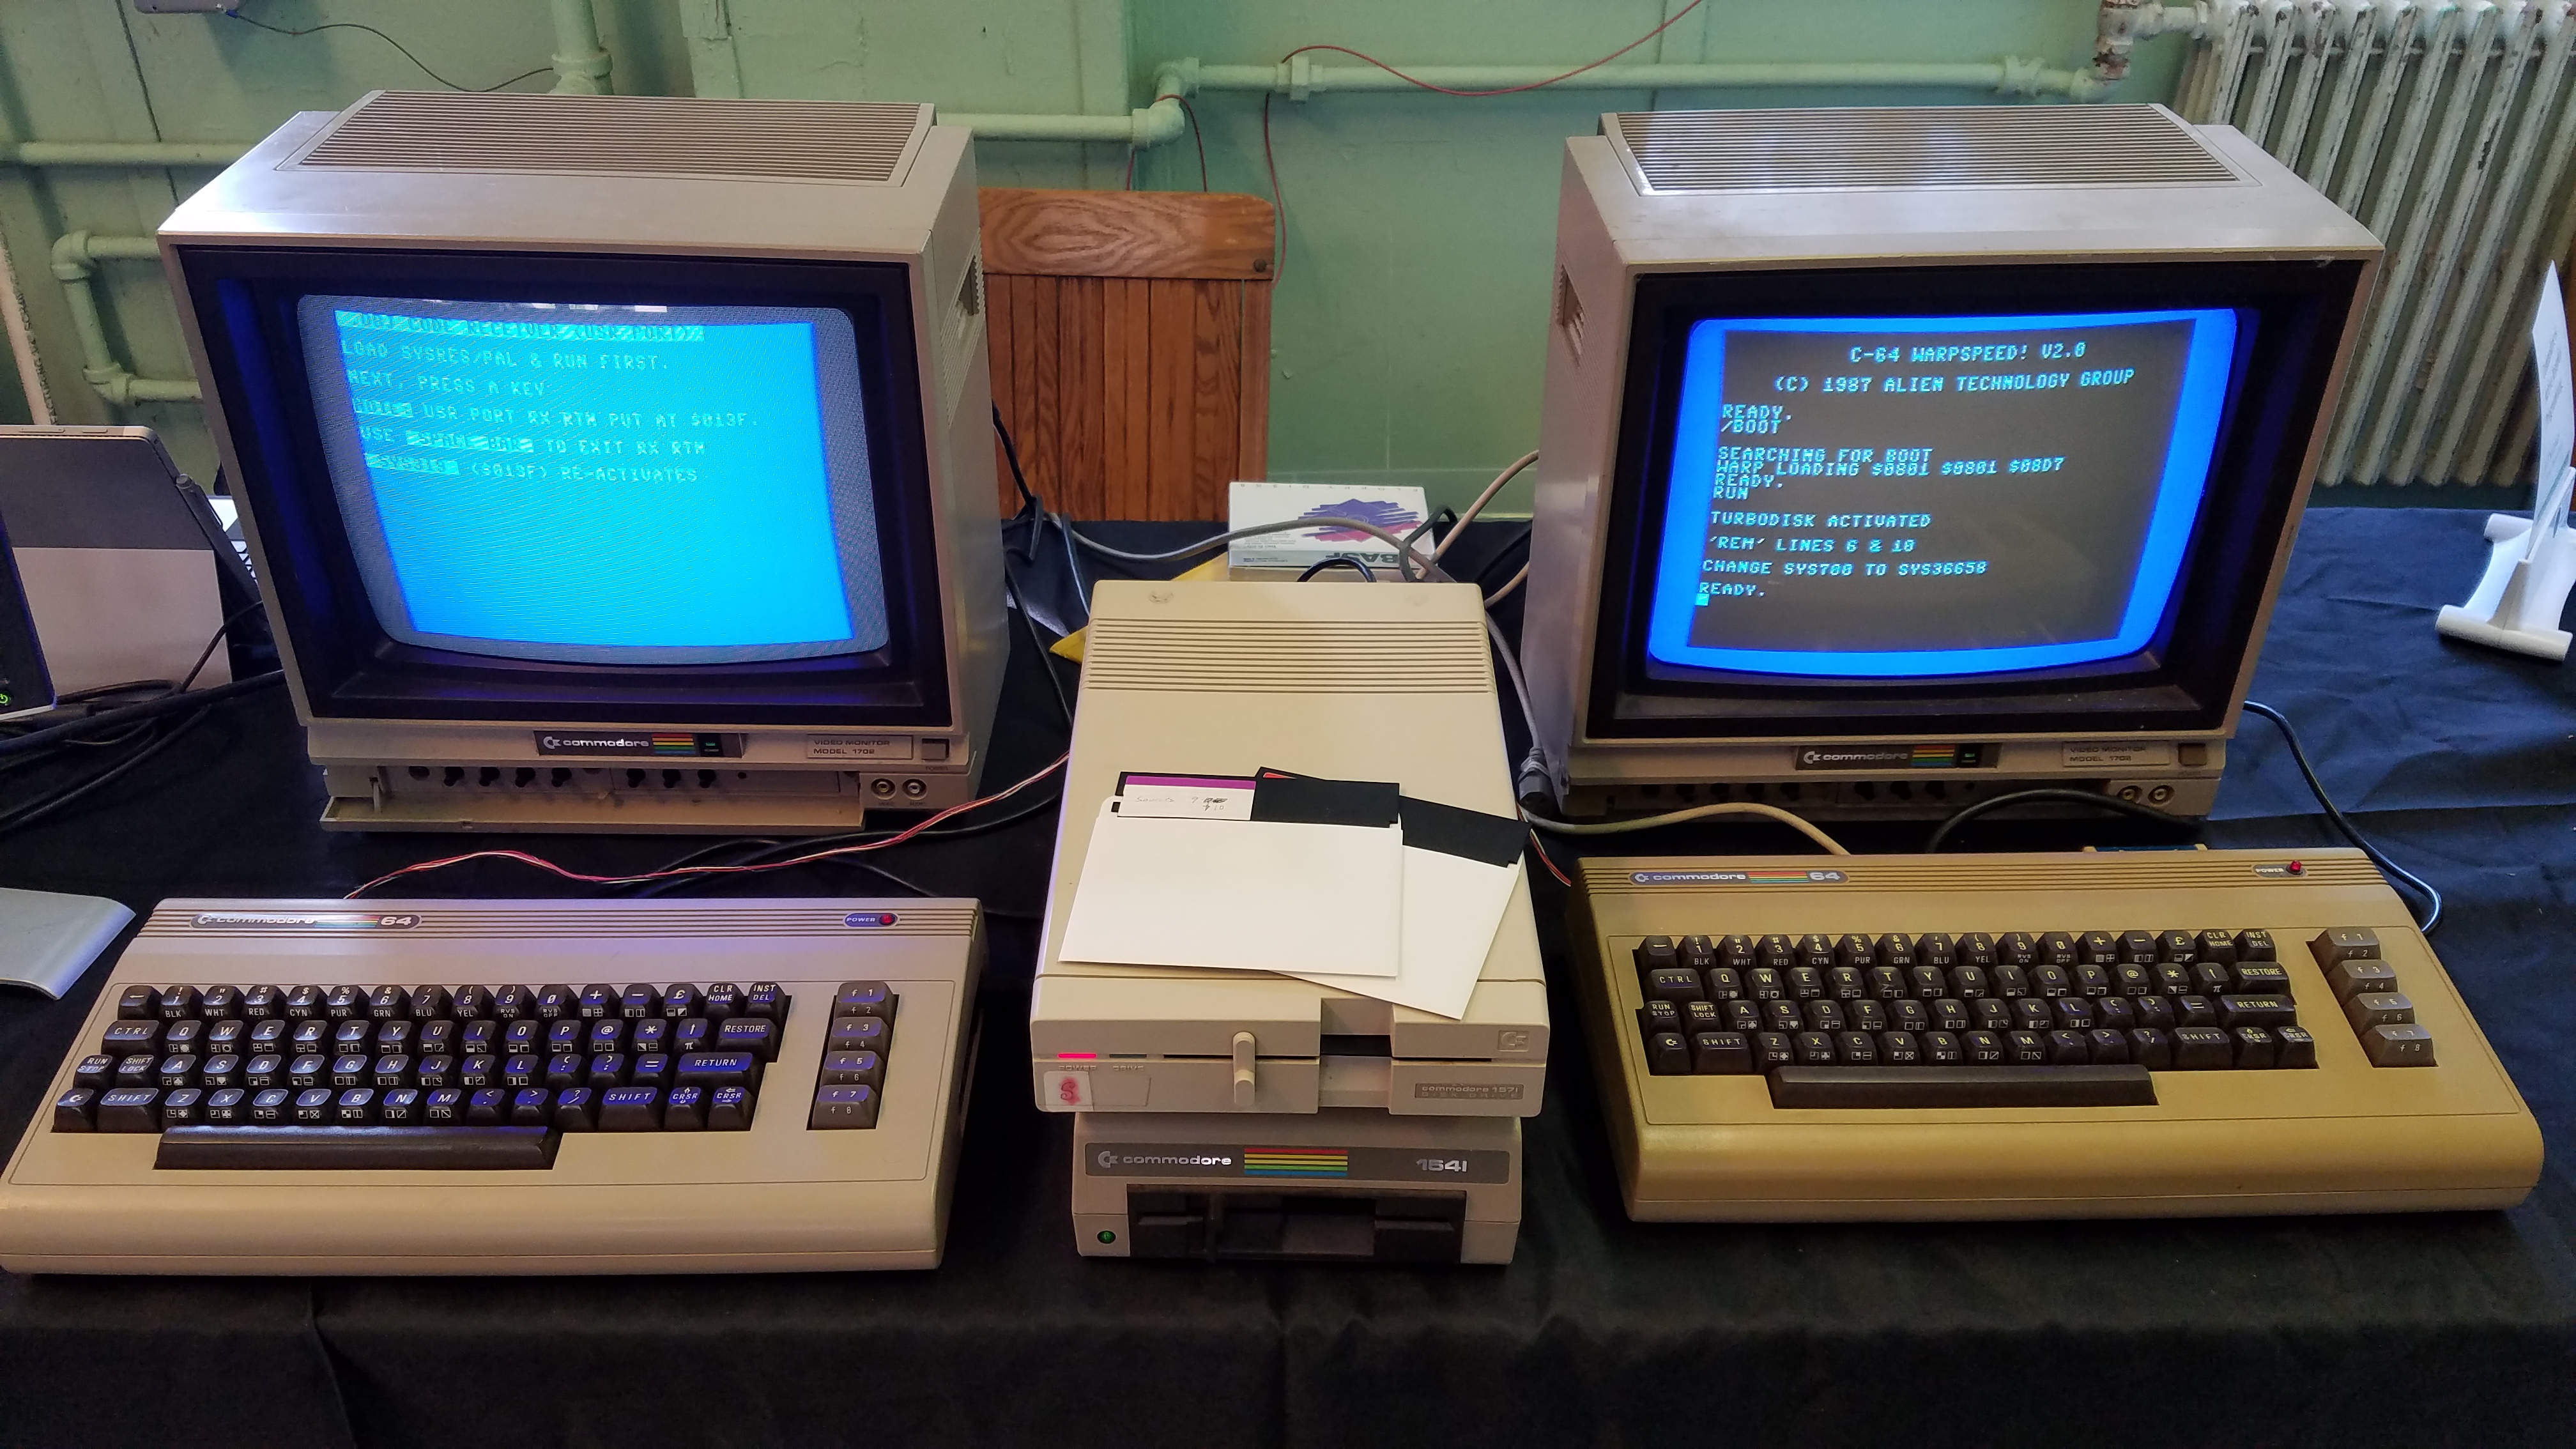
The process isn’t super fast, but it gets the job done conveniently. It does work slightly faster if you use a 1571 drive, instead of a 1541. Some issues do come up, especially if there are disk errors. The program has difficulty timing out on the transfer process if it encounters a read error. The only way I found to easily recover is to pull the USB from the PC, reinsert it, and try again. Due to the age of these floppies, I don’t expect to be able to archive 100% of my disk collection, primarily due to errors.
There is a “batch mode” available, if you want to back your disks up now and catalog it later. The CBMXfer program lets you specify a filename prefix, after which it will append a sequential number for each additional disk it transfers. After using this program to manually transfer disks, and giving them names as I go, I find that I may soon switch to batch mode. That way, I can keep busy at my workbench doing other delightfully amusing retrocomputing tasks, stopping only to quickly swap out the next disk as prompted.
Of course, if your original floppies eventually give out, or you (ahem…) found *.D64 files elsewhere (nudge… nudge…), you can use your backed up floppies on a real Commodore computer again by simply reversing the transfer process in the CBMXfer program.
For those who want to add to the emulation experience, I understand that it is possible to use the ZoomFloppy and real 1541 or 1571 disk drive as a primary drive for VICE. For this, you need to install the OpenCBM driver and select the “Use IEC Device” option in VICE for the drive number you want to use. However, I have not verified this functionality because I could not get it to work. It may be because I am running Windows 7 64-bit and the OpenCBM driver is 32-bit only for Intel based chips. I may be wrong on that assessment, but it’s my story, and I’m sticking with it! 🙂


